Table of Contents
To learn SQL, the best way is to practice different sets of commands and get hands on experience. If you have learned the SQL basics, then it is time for practice and reinforce your learning.
This is a simple beginner’s guide to help you install MySQL for learning and practice SQL commands. If you are not familiar with the SQL commands.
Visit our comprehensive guide on sql – SQL Basics Explained: Command, Queries, and Examples.
What is MySQL ?
MySQL is an open-source Relational Database Management System (RDBMS). It has all the features of a relational database model. The data is stored in database tables and it support SQL.
From a student’s perspective, you can download it free of cost and start practicing SQL immediately. However, you need:
- sufficient amount of disk space on your PC.
- memory
- network
- install necessary software dependencies for a successful installation.
This guide is strictly for Windows PC running Windows 7 or higher. For installation guides for Mac, Linux and other operating systems, visit MySQL installation guide.
Prerequisites to Install MySQL
There are many types of MySQL installer such as Enterprise Server, Standard Edition, and more. However, for learning purposes, we are going to install the MySQL 8.0.44 Community Edition under GPL License, which means it is open-source free software.
To download MySQL visit: MySQL Community Edition Download.

You must download the larger file and install on your Windows PC.
Before installation, make sure you meet the minimum requirements for installing MySQL server. Here is a list of prerequisites.
Hardware Requirements
There are three hardware requirements.
- CPU – A single core processor is enough for testing or practice, however, 2- 4 core processor is recommended for medium load.
- Memory – Minimum 2 GB RAM is required.
- Disk Space – Minimum 800 MB to 1 GB disk space is required.
- Networking – The SQL ports must be open inbound and outbound , if you are using Windows Firewall. Most of the time it is not a problem.
Software Requirements
On Windows, you need latest Visual C++ redistributable is present. The Microsoft Visual C++ redistribution package depends on the version of MySQL you are installing. The new version of MySQL 8.0 requires VC++ 2019 and above. The older version need VC++ 2015-2019.
Installing MySQL Community Server on Windows PC
The MySQL Community Version 8.0.44 and above, installation is divided into two parts:
- MySQL 8.0.44 Community Server Installation
- MySQL 8.0 Community Workbench
After installation, you need to connect your MySQL Workbench to the server in order to create databases and run SQL queries or commands.
MySQL 8.0.44 Community Server Installation
At the time of writing this post, MySQL 8.0.44 is the available version, and the installation for future version may not be different. In case, you are installing a higher version of MySQL, refer to the online documentation.
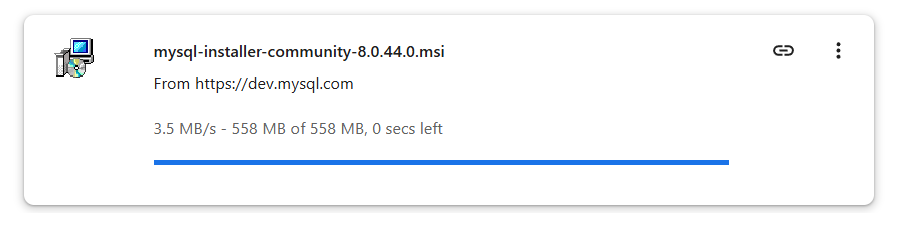
Step 1: Run the mysql-installer
After you have finished the download for MySQL Community Edition , run the MSI file. This will open the MySQL Installer window.
Step 2: Choose the setup type
The installer will give you options to install different types of setup. Since, we only want a simple server to create database and tables, choose “Server only“.
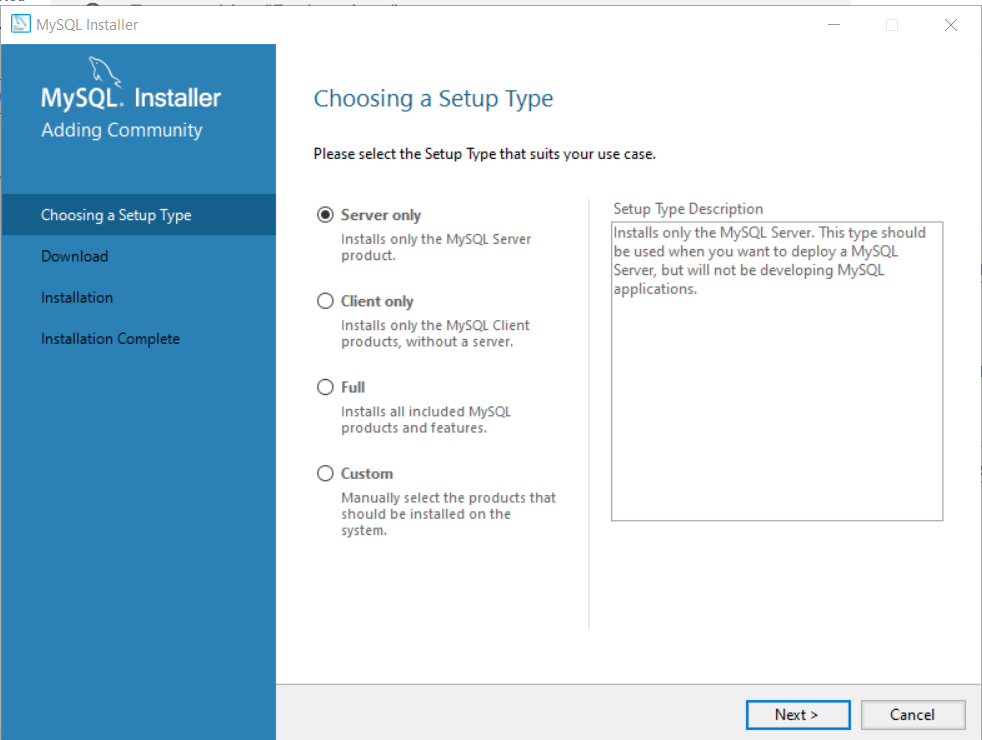
Click “Next” to continue installation.
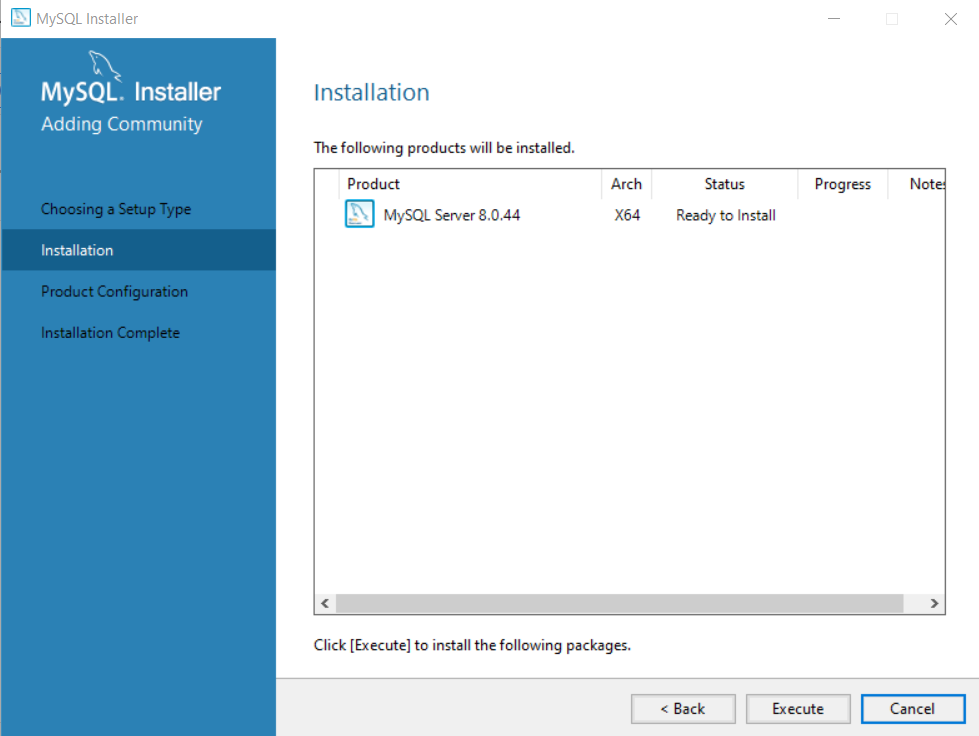
Step 3: Continue installation
In the next windows, there is nothing to do. The setup is only confirming the products you are going to install. We are only installing the server.
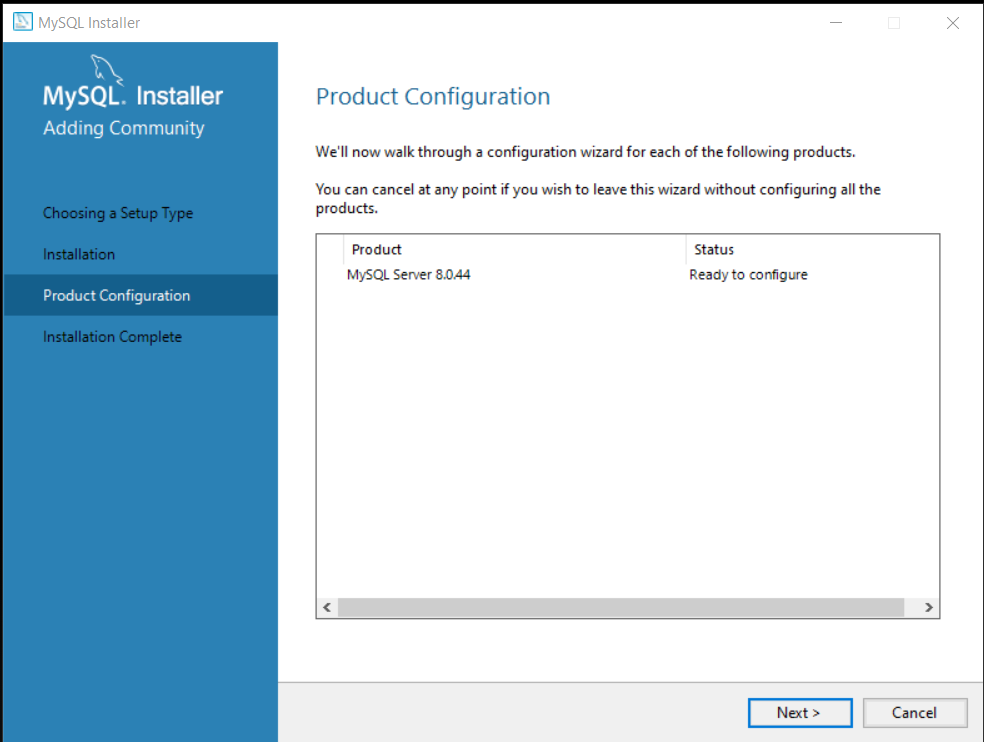
Step 4: Product Configuration Wizard
After installation is complete. You will see a ‘product configuration‘ window. The product configuration will show screens based on number of products, you have chosen to install.
In our case, we have only installed ‘MySQL server‘.
Step 5: Choose the Authentication Method.
In the Authentication Method, leave the default recommended setting, which is “Use Strong Password Encryption for Authentication”.
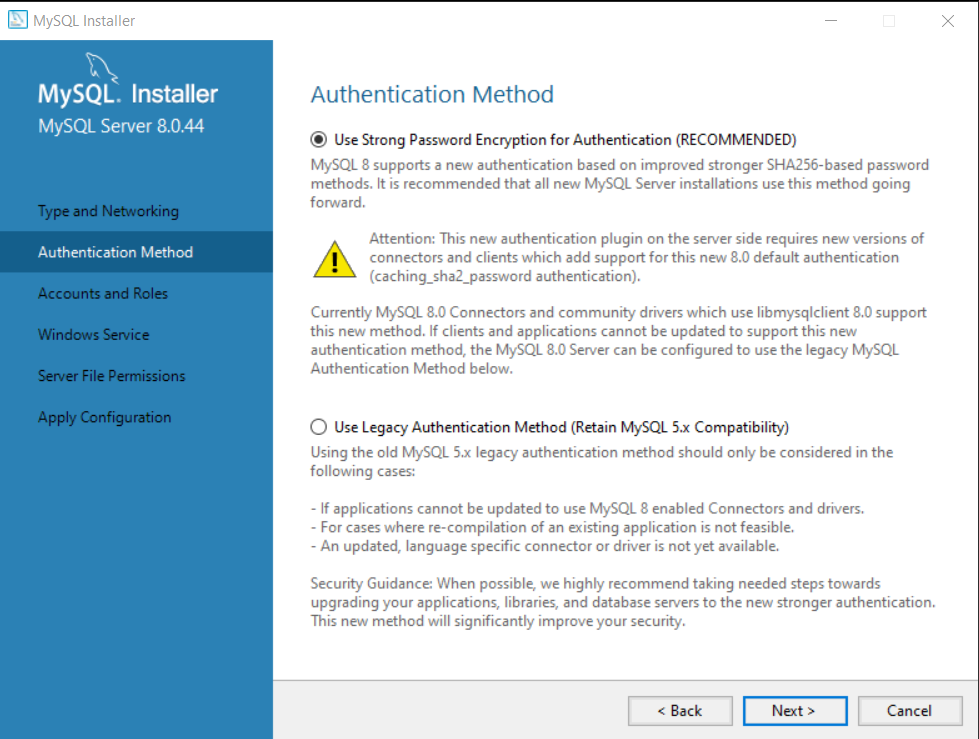
Click “Next” to continue.
Step 6: Set password under Accounts and Roles.
The default administrator user for MySQL is “root“. Set a strong password for this user in Accounts and Roles window. You can add more users in MySQL User Account section. You can also assign privileges to these new users based on their role.
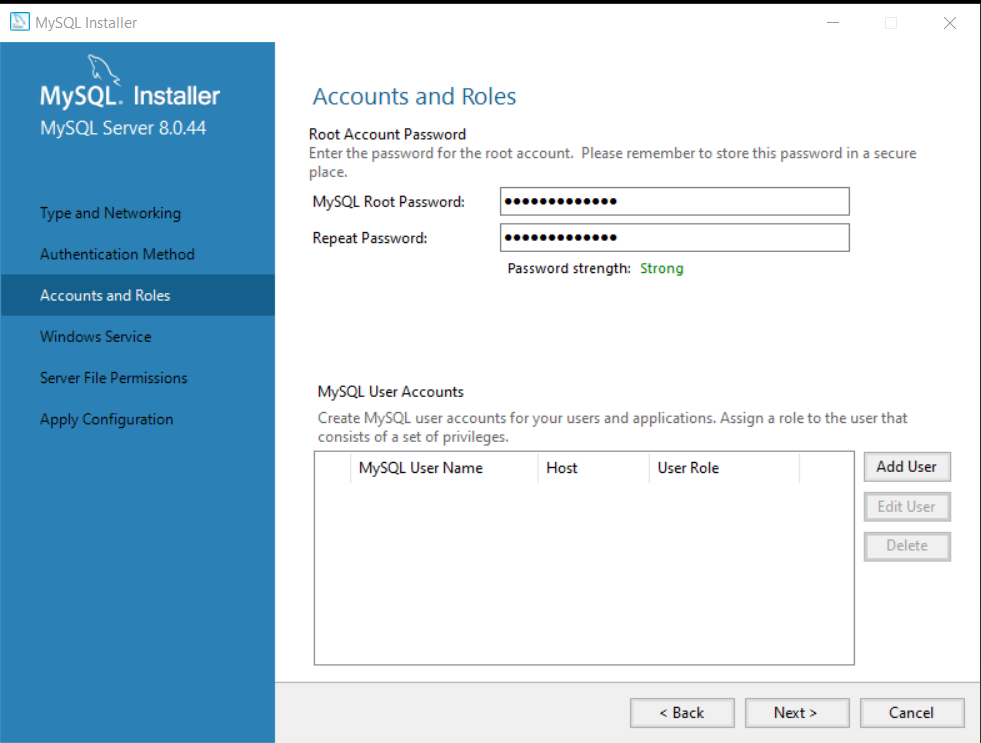
Important ! Note down the password because we will need it again, When we connect Workbench to the MySQL server.
Click on “Next” to continue configuration.
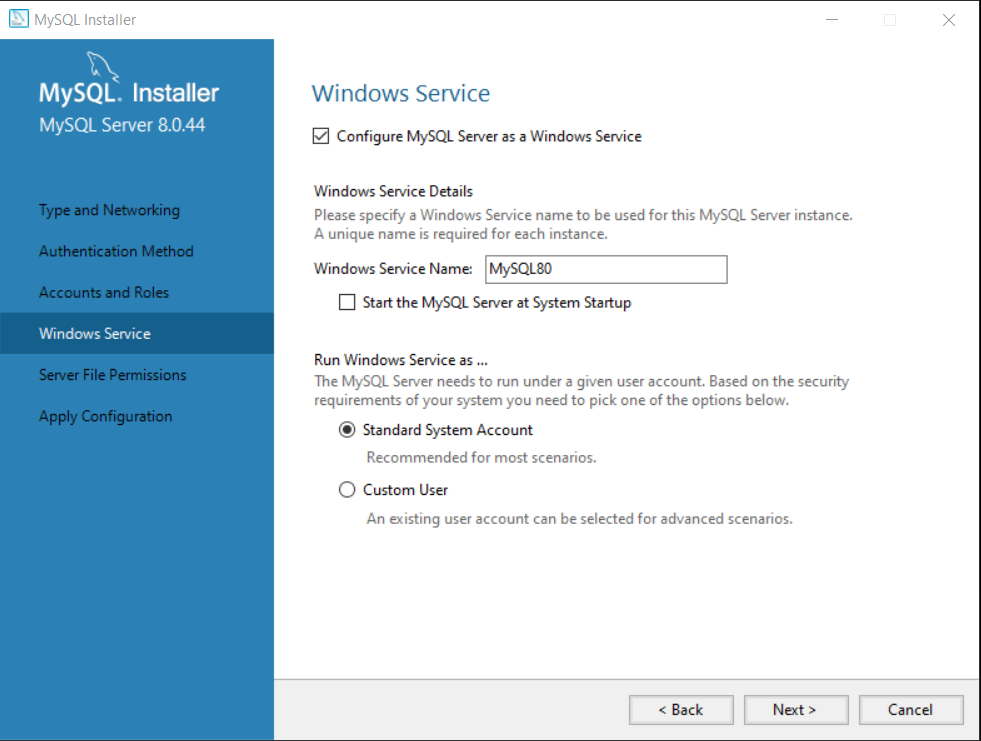
Step 7: Run MySQL Server as a Service.
In the next window, you don’t need to change anything. Make sure that the following options are selected:
- Configure MySQL Server as a Windows Service.
- Standard System Account
Leave the service name as it is. This will list MySQL Server as a a Windows service. You can confirm this after completing the installation.
Go to Start > Search > Run > type Services.msc and click Ok. The Services windows will pop up and SQL services are listed here.
Click “Next” to continue.
Step 8: Set Server File Permissions
The MySQL service needs appropriate file permissions. To set the file permissions , make sure “Yes, grant full access to the user running Windows Service and the administrators group only” is selected.
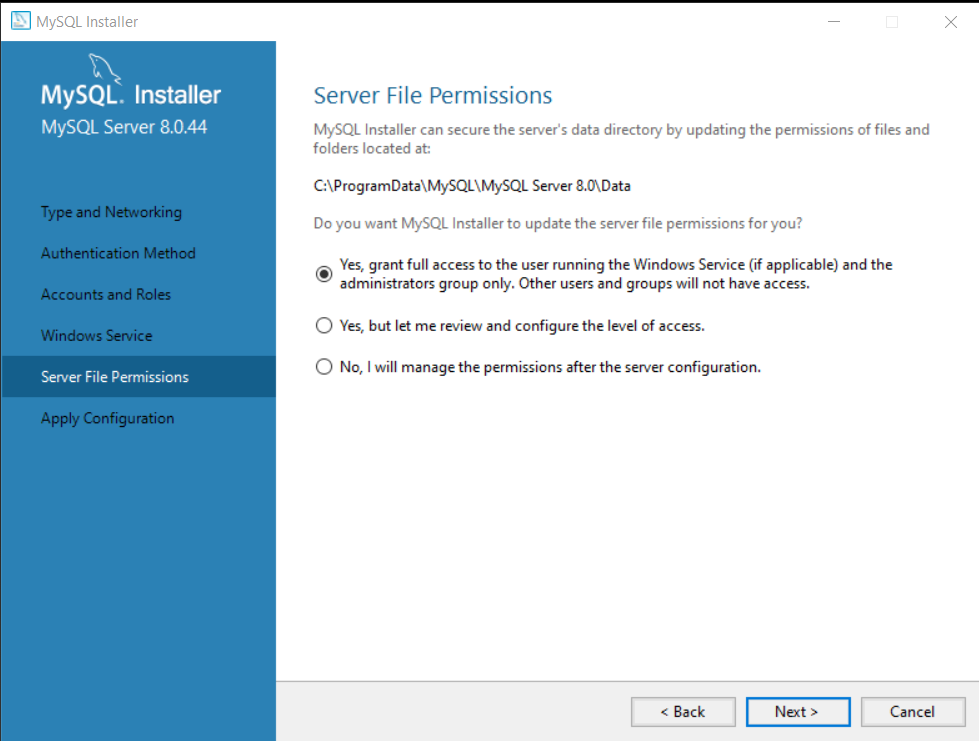
Click “Next” to continue.
Step 9: Apply Configuration
A page with list of configuration steps will show up. At this step, you only need to review the settings, if you are unsatisfied with any of these settings, click “Back” and adjust the settings.
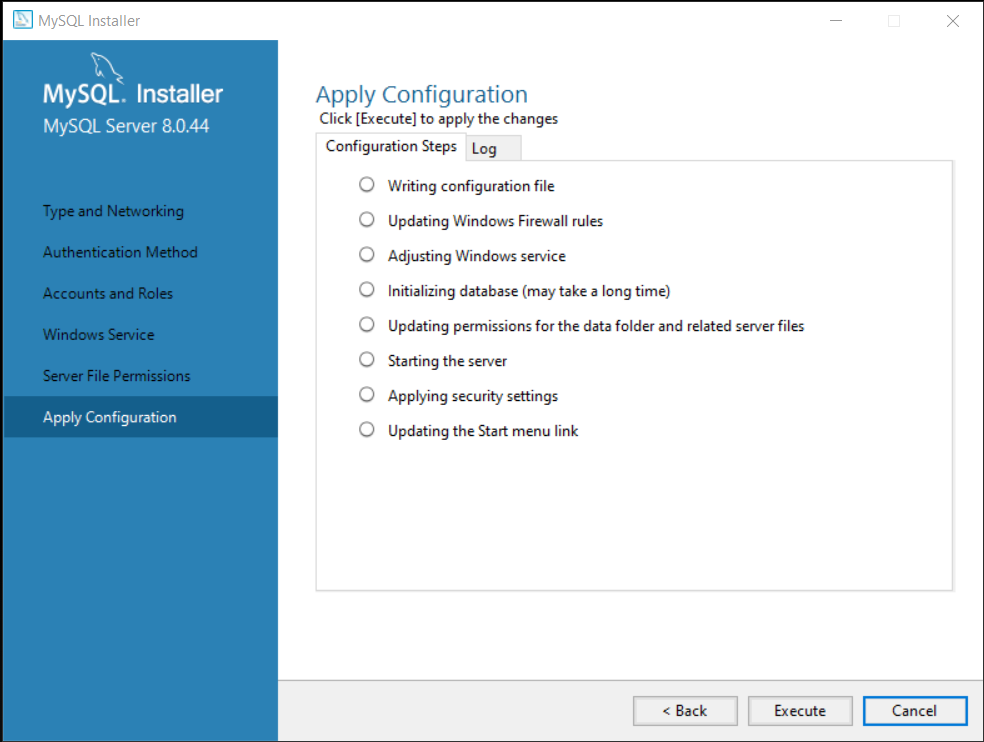
Click on “Execute” to continue.
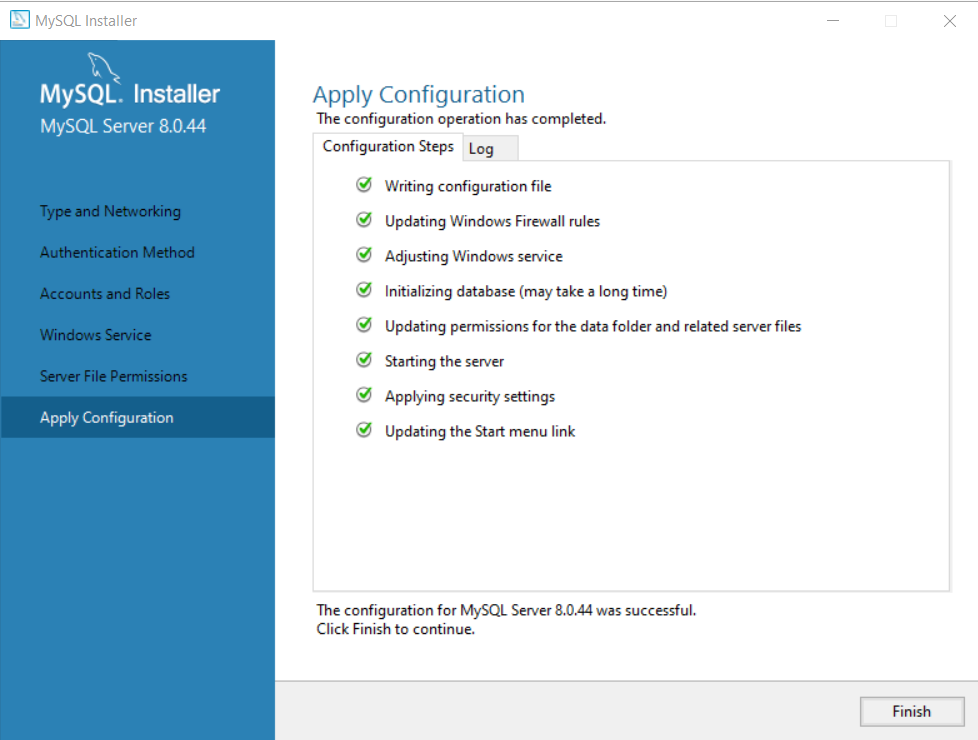
Step 10: Finish the Configuration.
After applying the configuration, click “Finish” to complete the installation.
Step 11: Complete the installation of MySQL Server.
We completed the configuration steps, and now you are back the installation Wizard. The Installation Wizard wants you to complete the installation. Click “Next” to complete the installation.
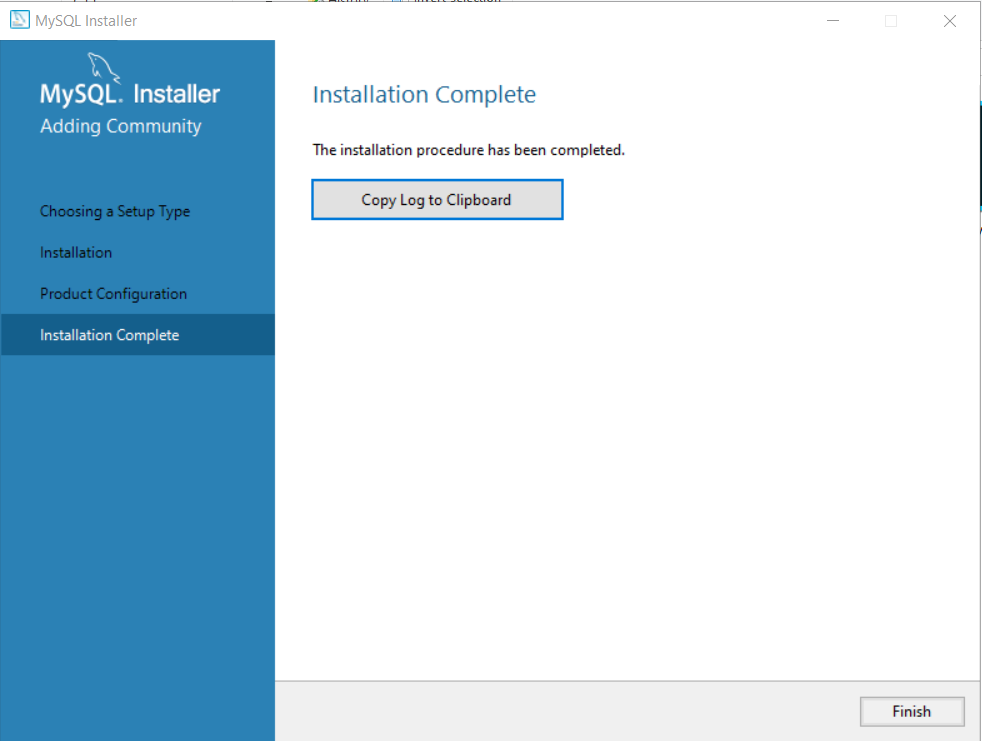
Click “Finish” to complete the installation.
The first part of MySQL Server installation is complete. In the second part, we will install the MySQL Workbench Community Version and connect it to the server.
MySQL Workbench Setup
In this section, we will complete the second part of our MySQL setup by installing MySQL Workbench. It is a software that allows you to connect to SQL server and manage databases.
The software and hardware requirement is similar to MySQL server and since, we are only installing for practice. You don’t need anything extra.
Step 1: Download the latest MySQL Community Workbench and run the setup.
Visit the following : MySQL Community Workbench.
Select the Workbench from available downloads.
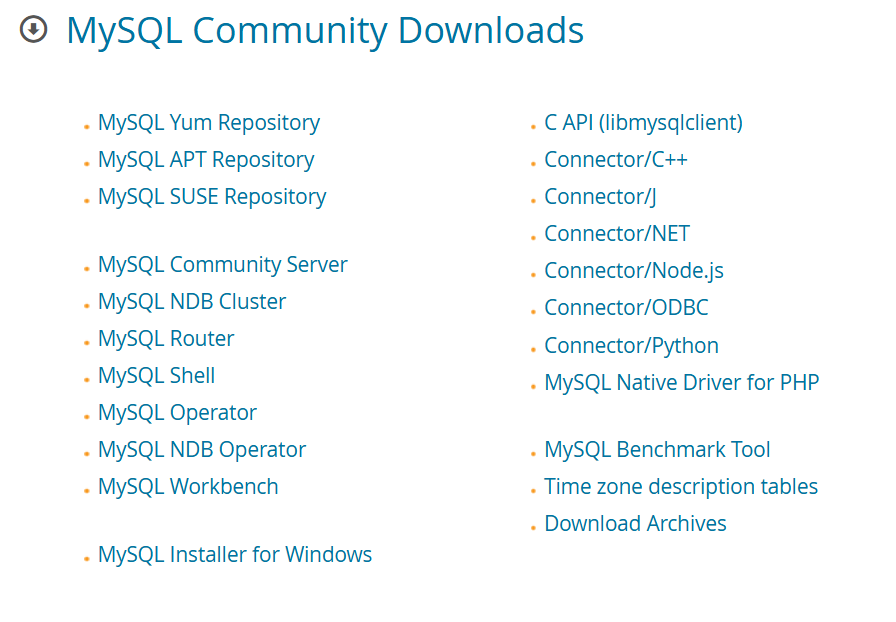
Once downloaded, run setup for Workbench.
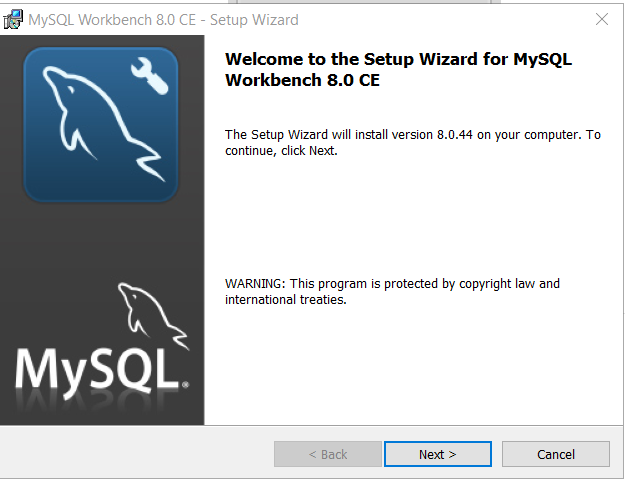
Click “Next” to continue.
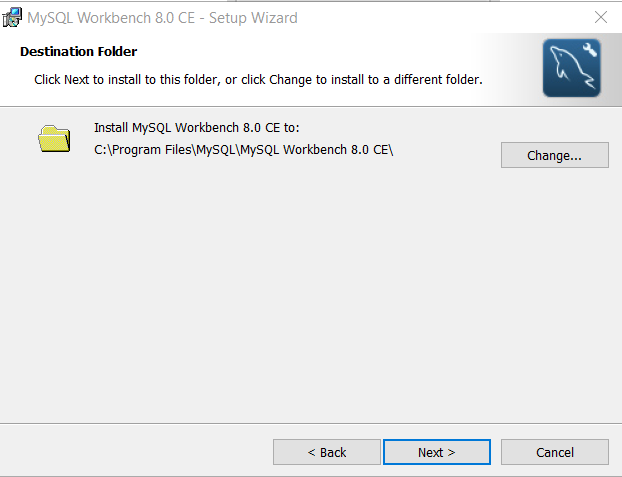
Step 2: Select the destination folder for Installation
The setup now ask you to select the destination folder for installation files. There is no need to change the location unless you are running out of disk space. In that case, you may want to install the Workbench on a different disk.
Click “Change” if you want to change the location.
Step 3: Select the features to Install.
The setup wizard want you to specify how you want the installation. You can go for a “Complete” setup, if disk space is not an issue.
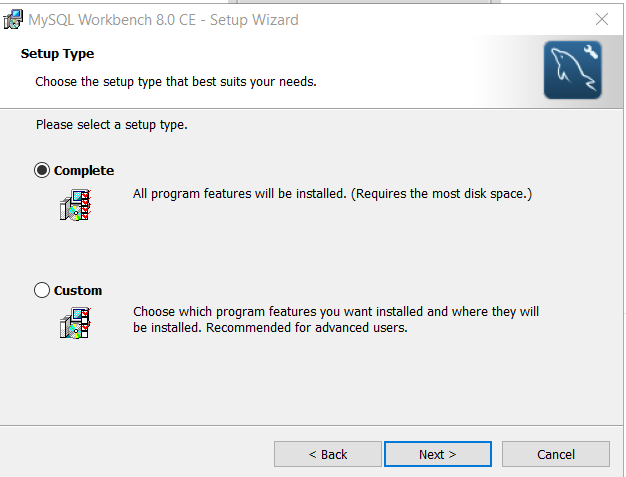
Click “Next” to continue installation.
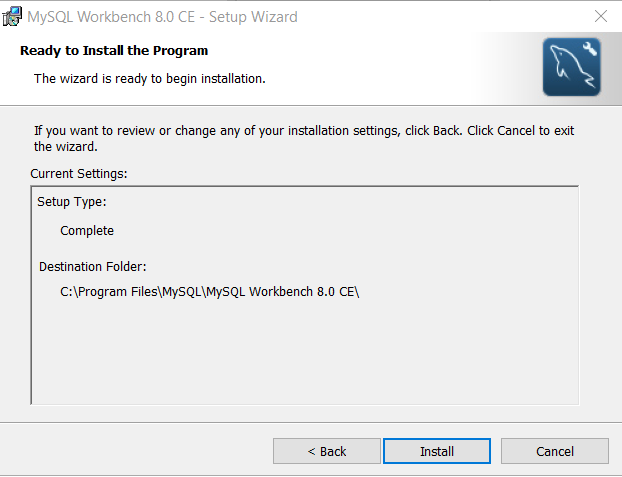
Step 4: Review Installation Setup and Install.
At this stage, you must review setup type and destination folder. If you are satisfied, click “Install“.
Step 5: Complete the setup
Once the setup is complete, click “Finish“.
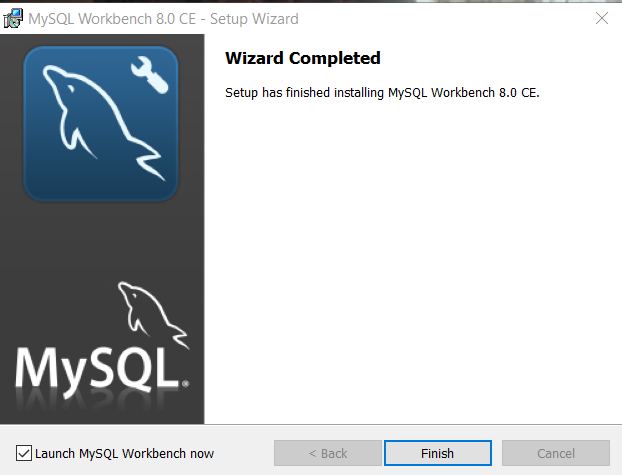
If you keep “Launch MySQL Workbench now” selected. The Workbench will open automatically when you click “Finish“.
Configuring MySQL Workbench for Practice
When you open Workbench, you get the following screen.

Currently, there is one Local Interface connection. You need to make a connection for yourself. That connection is used to create databases and run SQL queries.
To connect to a database, select Database > Connect to Database. You will get a dialog box for connection.
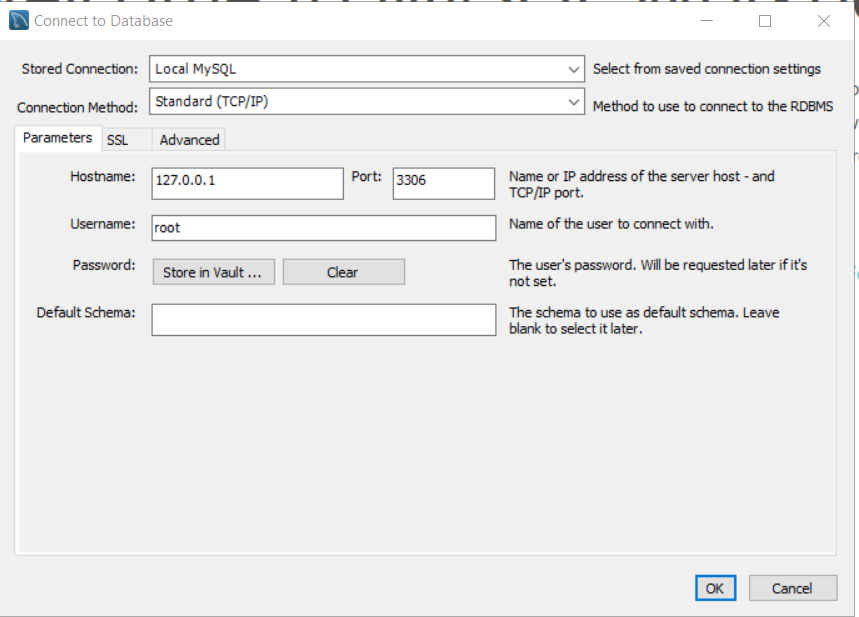
Stored Connection: Local MySQL
Connection Method: Standard TCP/IP
Hostname : 127.0.0.1 (The ipaddress of localhost)
Port: 3306 (Standard port for SQL)
Username: root
You need to provide password for root user. It is the same password that you entered during MySQL Server configuration.
Enter the password and click ok to connect. Once you are connected, write queries. It will work.
Summary
MySQL is open source software to manage relational databases (RDBMS). On Windows, you need 2-4 core processor, 2 GB RAM, and VC++ redistributable package.
You need to install two part software for MySQL on windows.
- Install MySQL Server
- Install MySQL Workbench
Lastly, you must make a connection from Workbench to SQL Server to run commands and queries.