In this article, we will design a menu in VB 6. To create this program, you may require a windows computer with Windows XP or higher operating system and Visual Basic 6.0 installed.
Step 1: Create a New VB 6 form
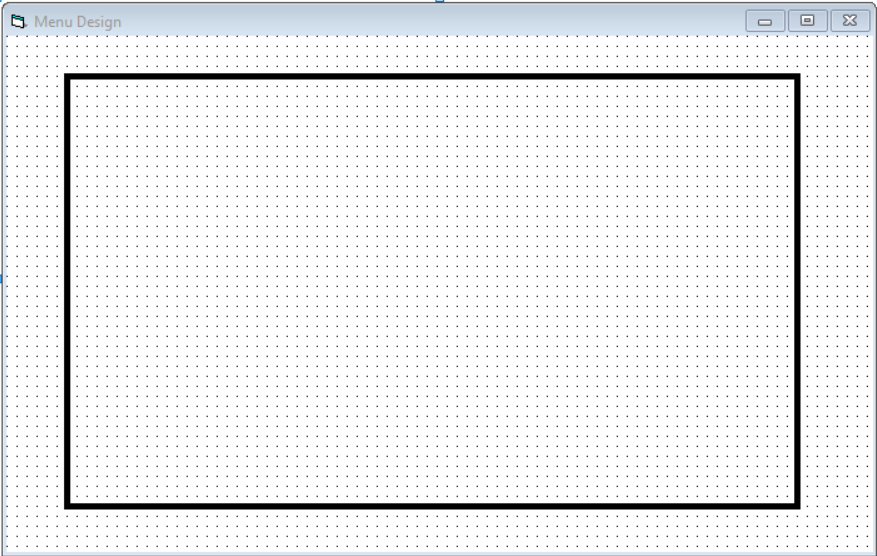
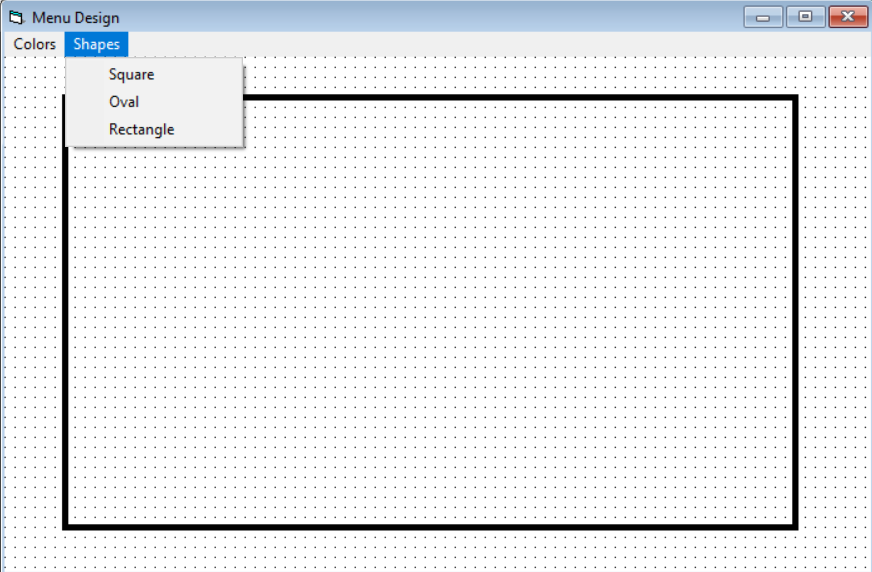
Open visual basic 6 and choose “Standard EXE” and your default VB form will show up. The next step is to create a rectangle shape from the toolbar on the left hand side of form. Here are the properties of the form.
Form Name: Menu_Form
Caption: Menu Design
BackColor : Highlight Text
Width: 10515
Height: 6660
Create a rectangle shape with following properties. Do not change other properties of shape.
Name : Shape1
Caption: Shape1
Border Width: 5
Step 2: Create Menu For Color
In this section, we will create a new menu to select a color for the shape. Go to Tools > Menu Editor or right-click on the form and select Menu Editor.

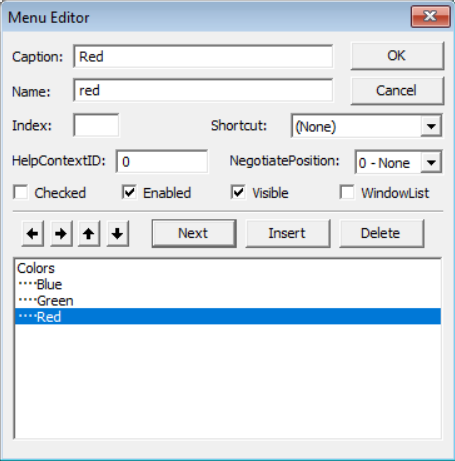
In the Menu Editor, you must enter the values for Caption, Name. You can add Shortcut if necessary. Select Next to add a new menu item and Delete to remove an item from the menu.
To add a sub menu, select the right arrow ( ->) or to move the sub menu, up and down arrow. Then you must add Caption, Name, and Shortcut for sub menu items.
The final menu look like the following.

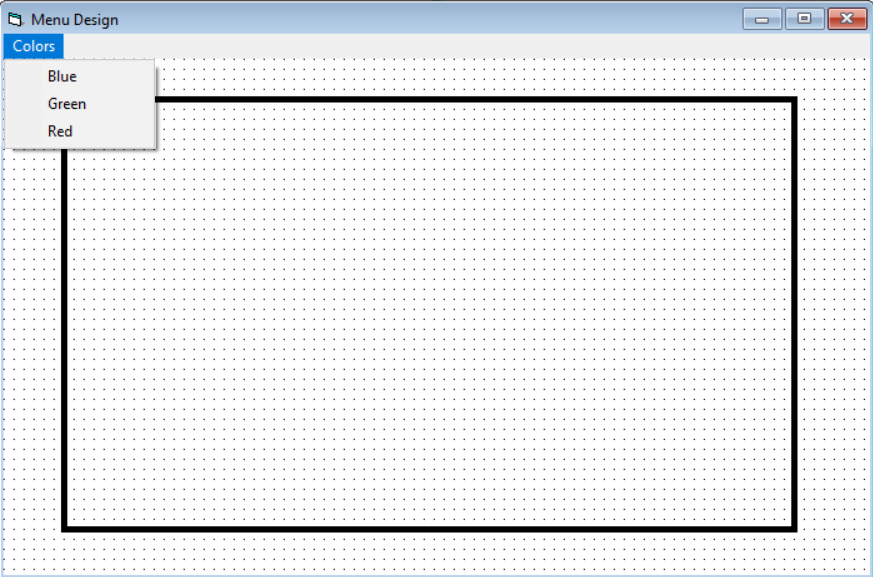
Click each of the sub menu item and add following codes.
Private Sub blue_Click()
Shape1.FillColor = RGB(0, 0, 255)
End Sub

Private Sub green_Click()
Shape1.FillColor = RGB(0, 255, 0)
End Sub

Private Sub red_Click()
Shape1.FillColor = RGB(255, 0, 0)
End Sub
Step 3: Create Menu For Shapes
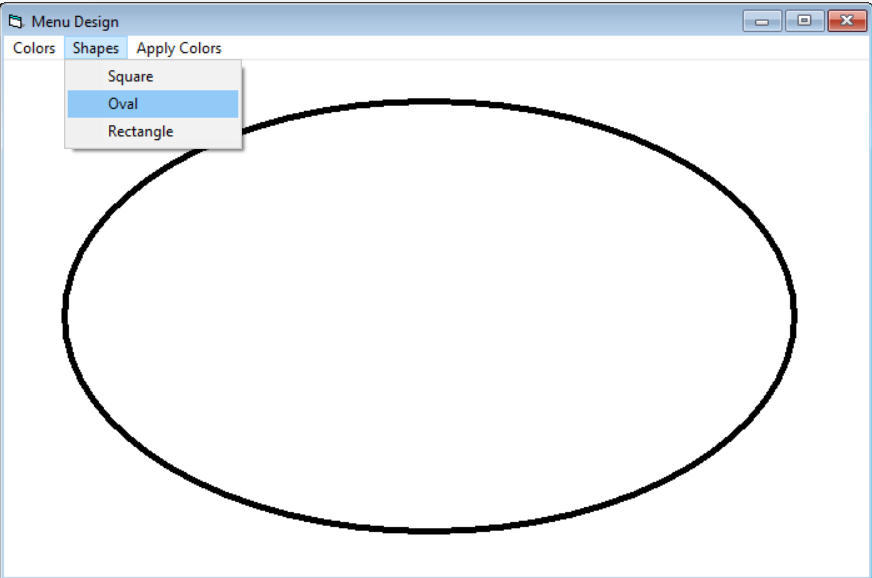
Now that you have created color menu, we must create Shape menu with three sub menu for Oval, Rectangle, and Square shape.
To create this menu, follow all steps mentioned in step 2. Your Shape menu should look like the following.

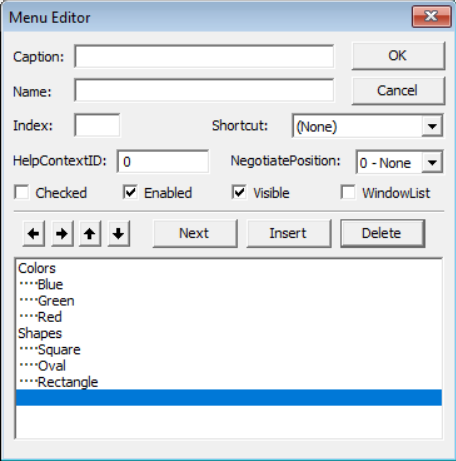
Now the shape menu with three sub menu look like the following.

Add following codes by clicking each of the sub menu items of shape menu.
Private Sub oval_Click()
Shape1.shape = 2
End Sub

Private Sub rectangle_Click()
Shape1.shape = 0
End Sub

Private Sub square_Click()
Shape1.shape = 1
End Sub
Step 4: Create Menu to Apply Colors
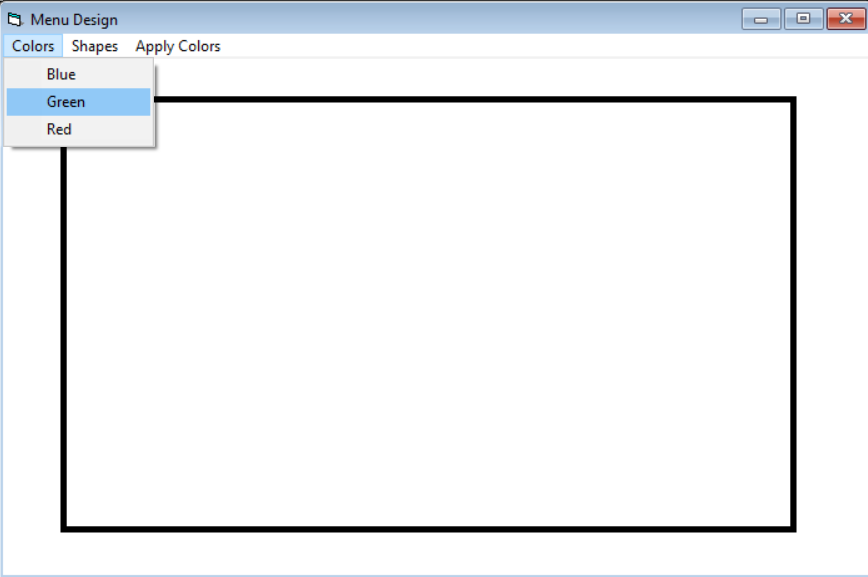
In this section, we create our last menu item that apply the color selected from the color menu.
Suppose you choose ‘Green‘ from color menu. It will not change the background color of the shape unless you choose the fill style from apply color menu.
Follow step 2 to create a new menu called Apply Color. The menu should have the following sub menu items.

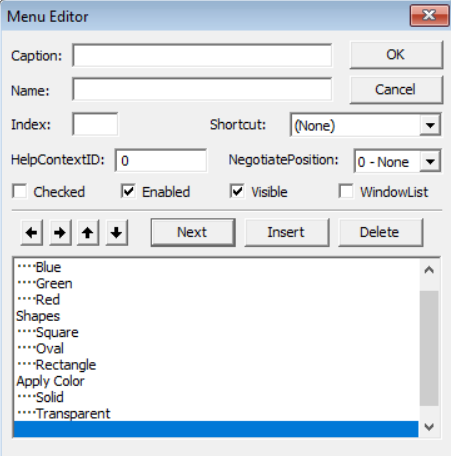
The final menu for the form will look like the following. Look at the sub menu for Apply Color.


Add the following codes for each sub menu by clicking on them.
Private Sub solid_Click()
Shape1.FillStyle = 1
End Sub

Private Sub transparent_Click()
Shape1.FillStyle = 0
End Sub
Testing the Project
Once you have saved your project. It is time to test it.
Color Menu = Choose the color for the shape. e.g Red, Blue, Green

Shape Menu = Choose the shape e.g Oval, Rectangle, or Square

Apply Color = Apply the chosen color style. e.g Transparent, or Solid Fill.

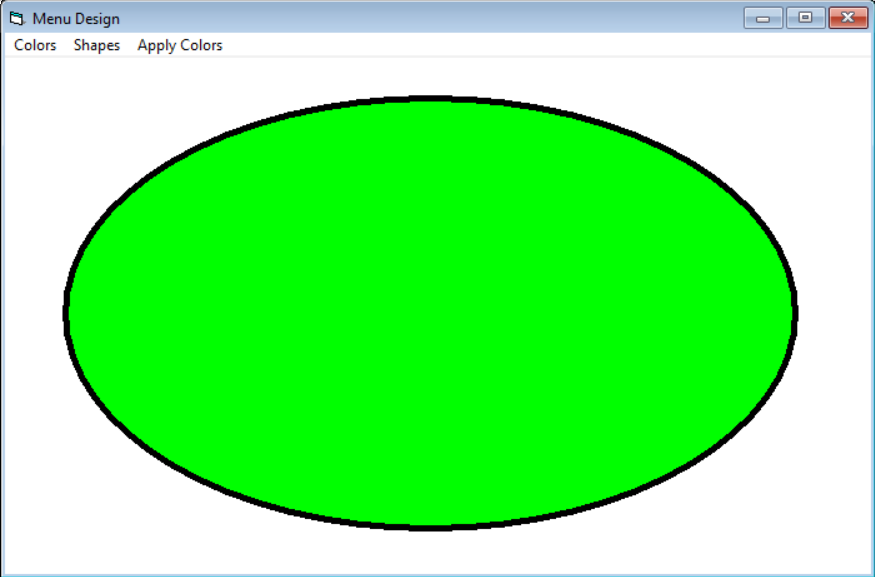
The final step will apply solid fill of selected color green to the shape. Note that you can change the color, shape, or fill at any point in the program.