HTML form elements are used to collect information from users. A user can enter email address, first name, last name, or click a button to get something done.
In other words, form elements are a way to interact with a web user. The result of an interaction with form element is an action or an event that call for an action. For example, a mouse click is an event that happens when you click on a button on the HTML page.
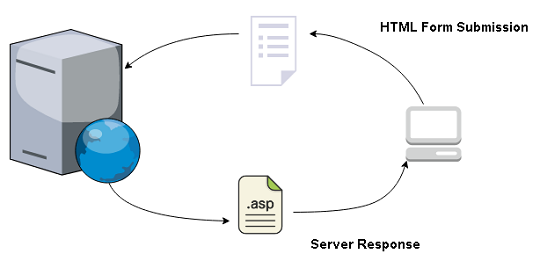
How form works?
There are many types of form elements, each with a specific purpose. You can divide form task into two.
- Collect information from user, validate and send it to a sever.
- Information sent to server are
<mark style="background-color:rgba(0, 0, 0, 0);color:#c00808" class="has-inline-color">name/value</mark>pair. For example,<mark style="background-color:rgba(0, 0, 0, 0);color:#af0909" class="has-inline-color">username = "bob"</mark> - The server processes the request using server-side programming such as C#, PHP, ASP, etc. and return a response in a new page.
- The server also stores the information in the local database.

Types of Form Control
Based on the functions, you can classify form controls into 4 categories.
- Search Control
- Text Input Control
- Choice Control
- Button Control
- Email and URL input
- File Upload
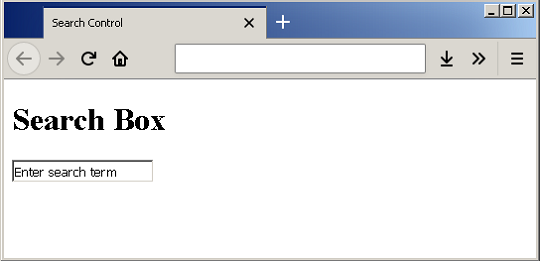
Search Control
The search box will help you to search for information on a website. The syntax to add a search control is given below.
<form>
     <input type="search" name="search box" value="Enter search term" />
</form>
For example, create an HTML page – example-search-box.html and insert the following code.
<!DOCTYPE html>
<html>
<head>
     <title> Search Control</title>
</head>
<body>
     <h1>Search Box </h2>
     <form>
          <input type="search" name="search box" value="Enter search term" />
     </form>
</body>
</html>
Output
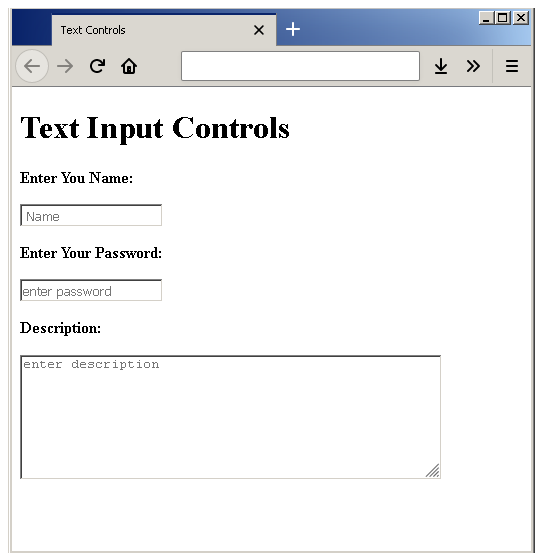
Text Input Control
There are many ways you can enter textual information on an HTML page. It is required to create collect personal information of users.
- Text box – add single line
- Password box – to enter password.
- Text area box – to enter short description containing multiple lines.
Syntax for the above text input controls are given below.
<form>
     <input type="text" name="text box" placeholder =" Name" />
     <input type = "password" name= "password box" placeholder="enter password" />
     <textarea name="desc" rows="7" cols="50" placeholder="enter description">
     </textarea>
</form>
Using the above syntax, let us create an HTML page – example_text_input.html.
<!DOCTYPE html>
<html>
<head>
     <title> Text Controls</title>
</head>
<body>
     <h1>Text Input Controls</h2>
     <form>
          <strong>Enter You Name:</strong>
          <p><input type="text" name="text box" placeholder =" Name" /></p>
          <strong>Enter Your Password:</strong>
          <p><input type = "password" name= "password box" placeholder="enter password" /></p>
          <strong>Description:</strong>
          <p><textarea name="desc" rows="7" cols="50" placeholder="enter description"></textarea></p>
     </form>
</body>
</html>
Output

Choice Control
Choice control means HTML elements that ask to select input from a pre-configured list of options. A name/value pair will be sent to the server when the form is submitted.
- Radio button
- Check box
- Drop-Down box
When radio button is used, users are given a list of options and they can select only one option. However, in the case of check boxes, you can make more than one selection. The drop-down list is another way of selecting an item. It is not different from radio buttons because it gives only one item to be selected. In both cases, the list of items is static.
Let us learn to use them with an example, create an HTML document – example-choice.html and insert the following code.
<!DOCTYPE html>
<head>
     <title>Choice Controls</title>
</head>
<body>
     <h1>Choice Control Example </h1>
     <form action="">
          <strong>Name:</strong>
          <p><input type="text" name="Name" placeholder="enter your name"/></p>
          <strong>Age:</strong>
          <p><input type="text" name="Age" placeholder="enter your age"/></p>
          <h3>Radio Button</h3>
               <p>Question: How do you travel everyday?</p>
               <p><input type="radio" name="vehical" value="car"> Car</p>
               <p><input type="radio" name="vehical" value="bike"> Bike</p>
               <p><input type="radio" name="vehical" value="train"> Train</p>
          <h3>Check Boxes</h3>
               <p>Question: Which fruit do you like to eat?</p>
               <p><input type="checkbox" name="fruit" value="apple"> Apple</p>
               <p><input type="checkbox" name="fruit" value="orange"> Orange</p>
               <p><input type="checkbox" name="fruit" value="mango"> Mango</p>
          <h3>Drop-Down List</h3>
          <p>Question: Select your favorite Sports?</p>
          <div><select>
               <option value="cricket">Cricket</option>
               <option value="football">Football</option>
               <option value="swimming">Swimming</option>
               <option value="baseball" selected>Baseball</option>
          </select></div>
     </form>
</body>
</html>
Output

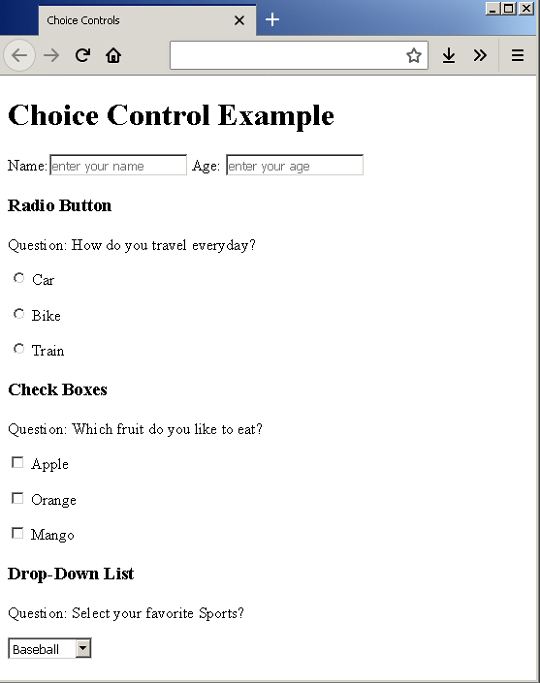
In the above example, if you click on the drop-down list you get a list of options to select from. But, only one item can be selected at a time.
Button Controls
Buttons are used to submit the form, reset the form so that users can enter fresh information, and trigger any other events like open a new HTML document, etc.
Three types of button exists.
- Submit button
- Reset
- Image button
We shall see the difference between all three button with examples. Create an HTML document – example-buttons.html and insert the following code.
<!DOCTYPE html>
<html>
<head>
     <title>Button Controls </title>
</head>
<body>
     <h1>Button Control Examples</h1>
     <form action=" ">
          Name: <input type="text" name="firstname" placeholder="enter your firstname"/>
          Tell Us About Yourself:<br/>
          <textarea name="about" rows="5" cols="30"></textarea><br/>
          <input type="submit" name="submit" value="Send"/>
          <input type="reset" name="reset" value="Reset" />
     </form>
</body>
</html>
Output

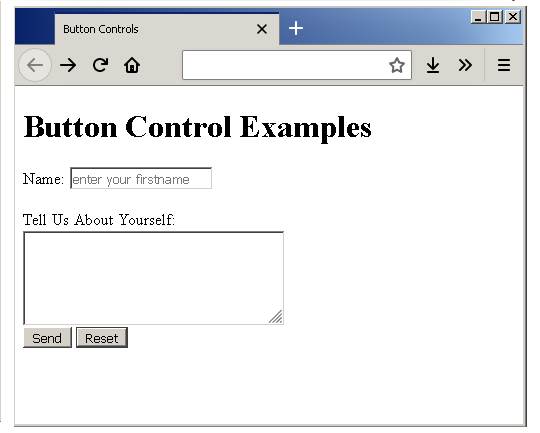
As an experiment, you can add some text and click on the reset button, the entered values get erased immediately. Or you can click on the Send button and this will open the google website. This is because the form action is set to google.
<form action = "http://www.google.com/">...</form>
HTML Email and URL Input
HTML has allows to enter email and url input. When a user enter these details it is validated if the browser supports validation. Otherwise, browser treats them as textboxes.
<!DOCTYPE html>
<html>
<head>
     <title>Email Input Control</title>
</head>
<body>
     <h1> Email Example</h1>
     <input type = "email" name="Email" placeholder=" enter your email"/>
     <input type="submit" name="Submit" value="Submit"/>
</body>
</html>
The email input and url input must be in the correct format. Consider the following example – example-email.html.
Output

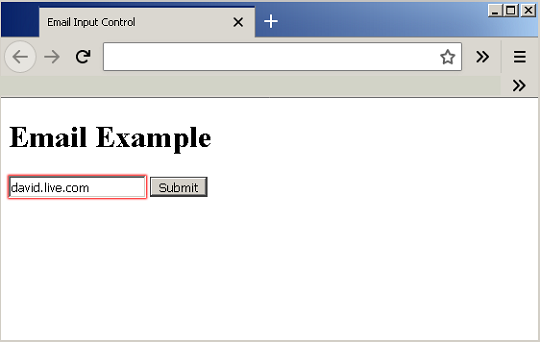
As you can see that the control is created, but when the user enters a wrong input – <mark style="background-color:rgba(0, 0, 0, 0);color:#a40b0b" class="has-inline-color">david.live.com</mark>, it is highlighted in red indicating an error. Similarly, create an example for url control – example-URL.html and insert the following code.
<!DOCTYPE html>
<html>
<head>
     <title>URL Input Control</title>
</head>
<body>
     <h1> URL Example</h1>
     <input type = "url" name="URL" placeholder=" enter your website"/>
     <input type="submit" name="Submit" value="Submit"/>
</body>
</html>
Output

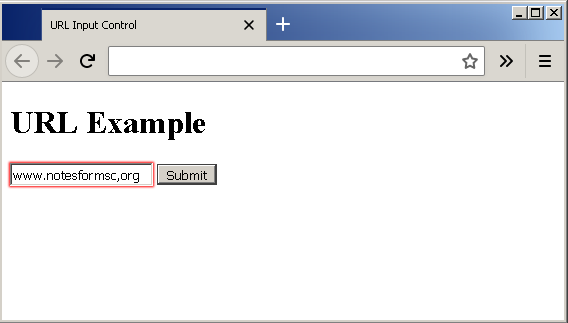
Once again a wrong input is shown in red, because the URL format is incorrect.
File Upload Control
Lastly, we have file upload control that allows users to upload file of different type to a website. Let us create a page – example-file-upload.html and insert the following code.
<!DOCTYPE html>
<html>
<head>
     <title>File Upload Control</title>
     <style>
     #file-upload{
          border:1px solid gray;
          padding:10px;
          }
     #upload{
          background-color:lightgray;
          padding:2px;
          }
     </style>
</head>
<body>
     <h1> File Upload Example</h1>
     <form id="file-upload" action="file.php">
          <p><input type = "file" id="upload" placeholder=" upload a file"/></p>
          <p><input type="submit" name="Submit" value="Submit"/></p>
     </form>
</body>
</html>
In the above example, a little CSS is added to decorate the upload control.
Output

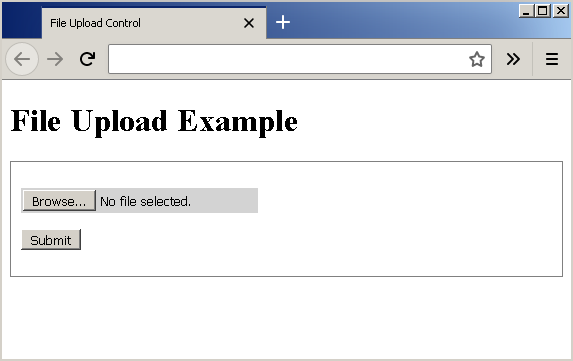
The file upload control gives a text box with a browse button. When you click on the browse it will open the windows explorer so that you can upload your file. The “No file selected” is replaced with path to the file you choose to upload.

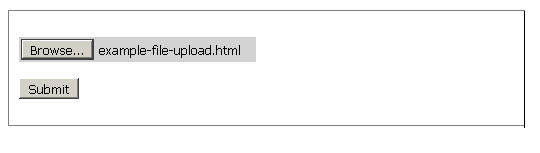
The <mark style="background-color:rgba(0, 0, 0, 0);color:#b91313" class="has-inline-color">submit </mark>button is to submit the form as discussed earlier.