C compiler is the most important requirement to practice writing programs. In this article, we walk you through the process of installing Turbo C++ 3.2 compiler. Before installation you must complete the following requirements.
Operating System: Windows 7 and above, including Windows 10.
.Net Framework 4.5 : Only for Windows 7, Vista and XP
Steps to Install Turbo C++ 3.2
Follow these steps to do a fresh installation of Turbo C++ .
Step 1: Download Turbo C++ 3.2.
Step 2: Extract “Turbo C++ 3.2 zip” file in the same directory.

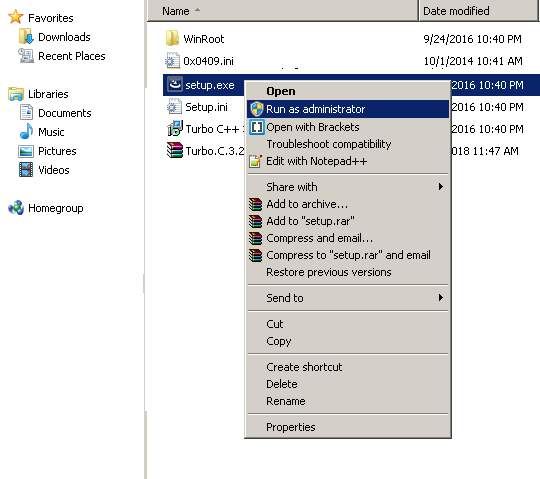
Step 3: Run “Setup.exe” file and follow the instructions. Make sure that you run setup as administrator.
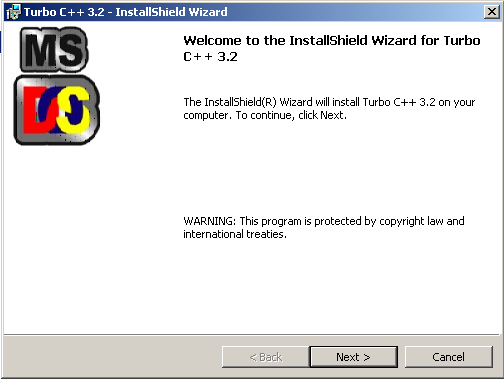
Step 4: You will get the Install Shield Wizard to Turbo C++. Click Next to continue.
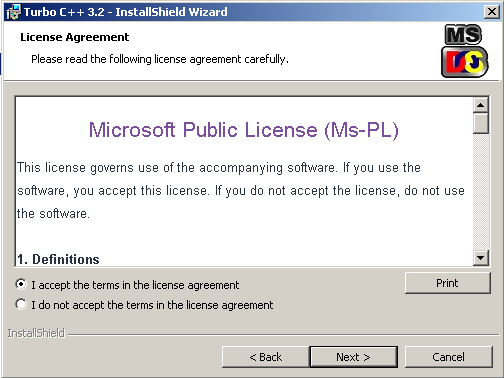
Step 5: You will receive the License Agreement windows, accept the License Agreement and click Next to continue.
Step 6: Setup is now ready to install Turbo C++ compiler.
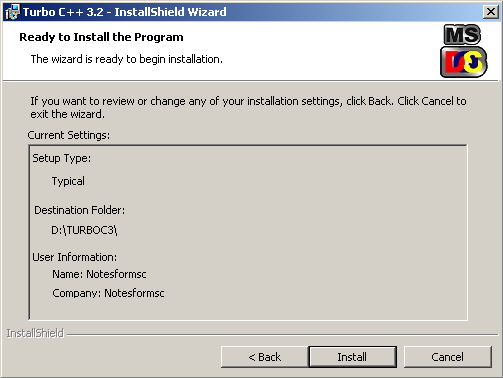
Step 7: Click Install to start the installation.
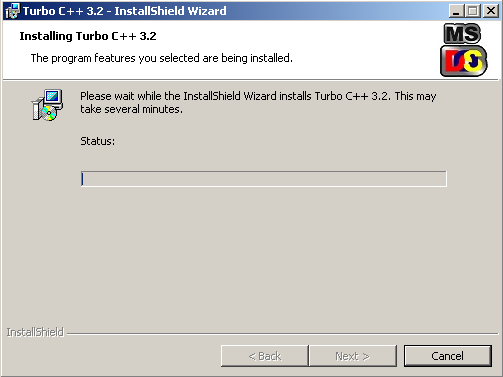
Step 8: After few minutes the setup completes the installation successfully.
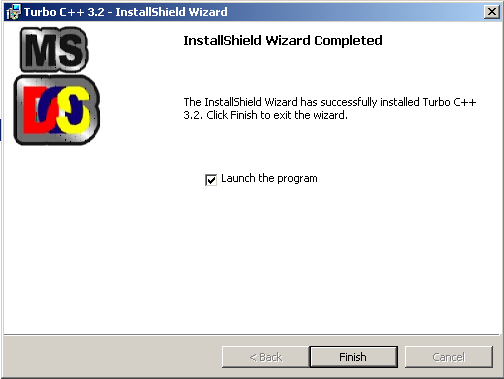
You can now click on Finish and launch the program. The initial screen for Turbo C++ 3.2 look like following.
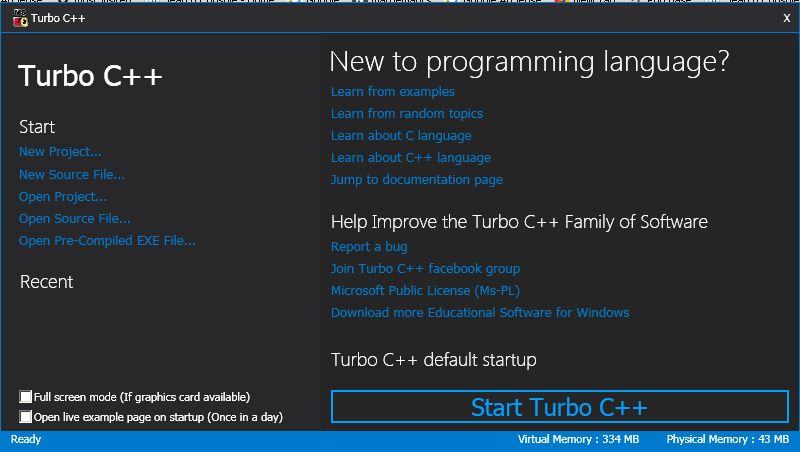
You can now click on “Start Turbo C++” and continue writing programs.