Netbeans is a popular Java Integrated Development Environment(IDE). It is a software tool to compile your java program, but real compilation is done using Java JDK behind the scenes.
So, why install NetBeans IDE? because IDE manages you program files, classes within a programming project, support different languages and help in other management tasks. This article is limited to NetBeans installation on a windows computer.
Java SDK is a prerequisite for installing NetBeans. To install the latest Java SDK version, read the following article.
Steps to Install NetBeans IDE 8.2
To install NetBeans on your windows computer you must follow these steps.
Download NetBeans IDE 8.2
We start our installation by downloading the latest version of NetBeans IDE 8.2. Visit the site http://netbeans.org to download it.

When you click on the download option, it will take you to the download page. You can download any package suitable for your computer, but for the sake of this tutorial, download the full version.

The full version contains most of the packages. Now, create a new folder NetBeans and download the software.
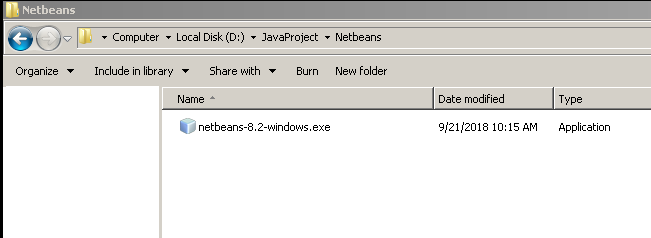
You cannot run the setup immediately before you run setup to make sure that the Java JDK 10.0.2 is installed correctly.
Sometimes, you may receive an error when you start the setup. The screenshot for error is shown below.
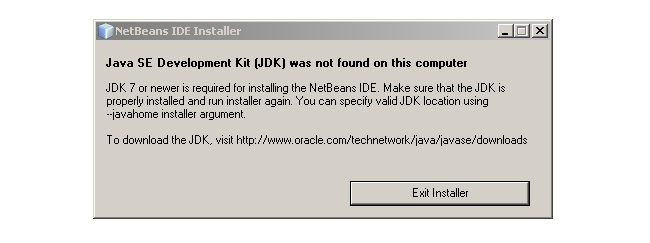
We have Java JDK installed, but you may still get this message. To solve this problem, download and install Java JDK 8u111 update from the Oracle site.
Download and Install JDK 8u111 Update
Once downloaded JDK 8u111 updates, you can begin the installation.

Click next to continue with the installation.
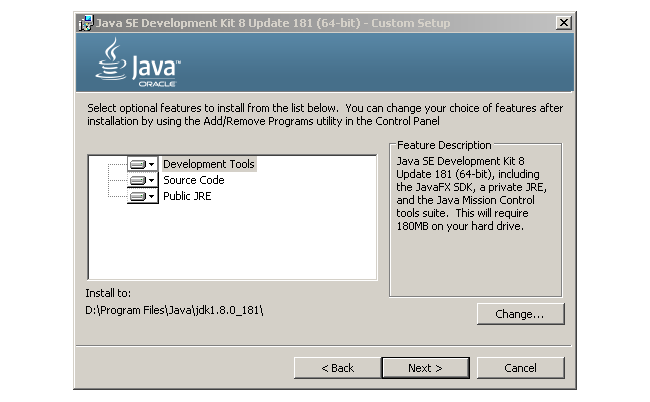
The custom setup window will show, here you can change the default installation directory if required. Click next to continue installation.
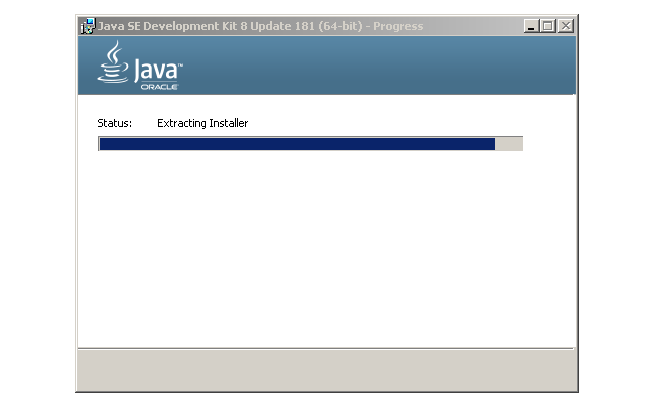
The JDK setup prepares an installer for further installation. The installer also requests a custom destination for installation.
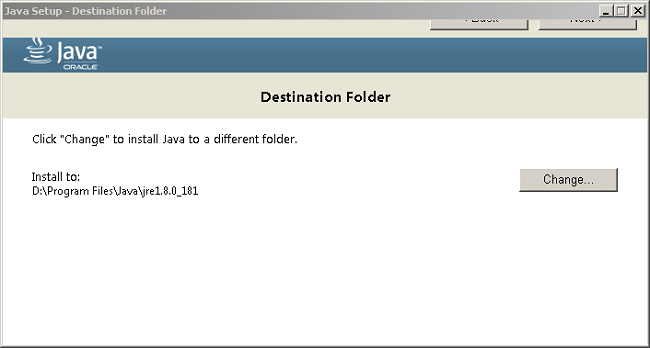
Click next on the top to continue.
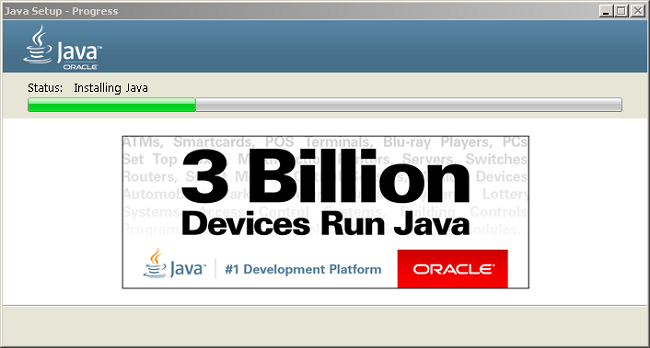
Once the installation begins it takes few minutes to complete the setup.
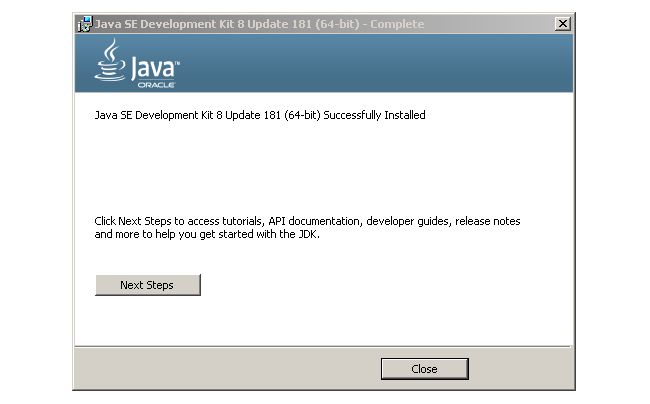
Close the window when installation is finished.
Install NetBeans IDE 8.2
With all prerequisites in place, you can begin installing NetBeans IDE 8.2. Double click the setup again.
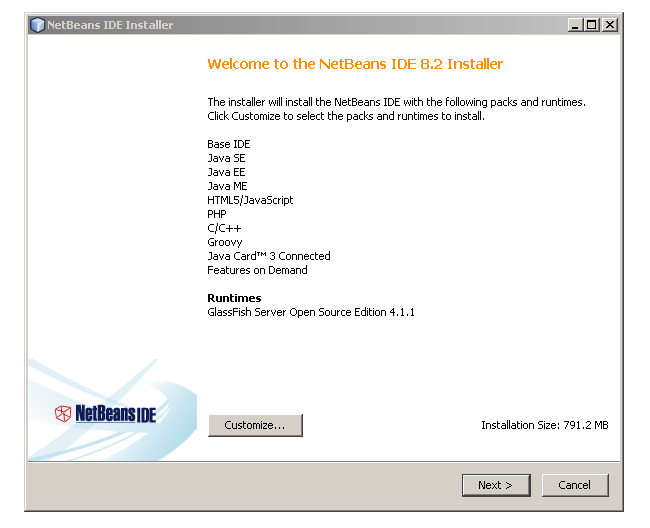
This the screen where you can customize, by choosing what to install. Click on next to continue.
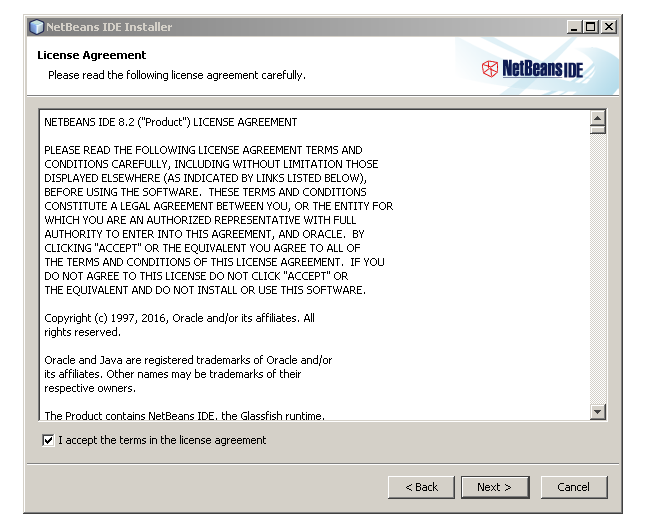
Put a check on “I accept the terms in the license agreement” after you have read the license agreement. Click next to continue with the setup.
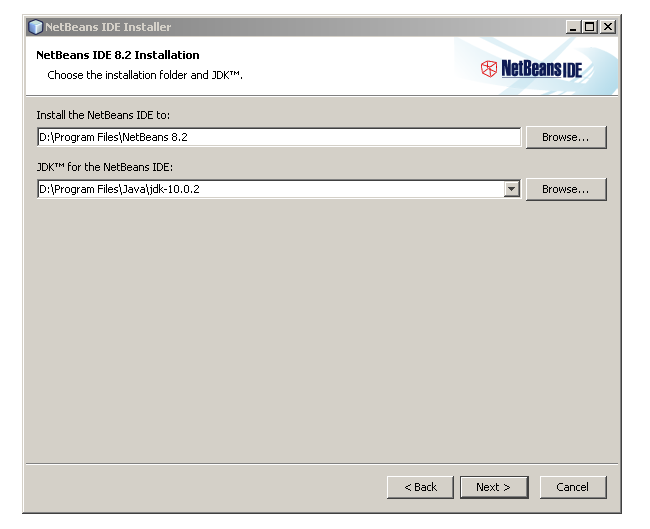
On the next screen, you get an option to change the installation directory. You can change the location of the installation if a specific drive does not have enough space.
Click next to continue otherwise.
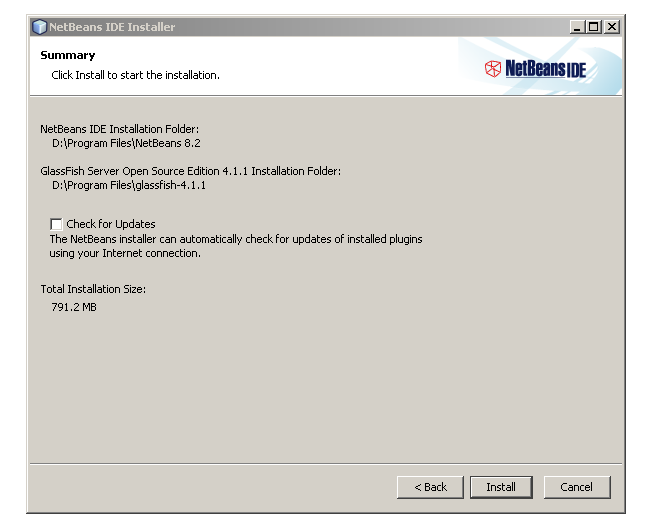
A summary of all options is given on the next screen, review them before clicking Install.
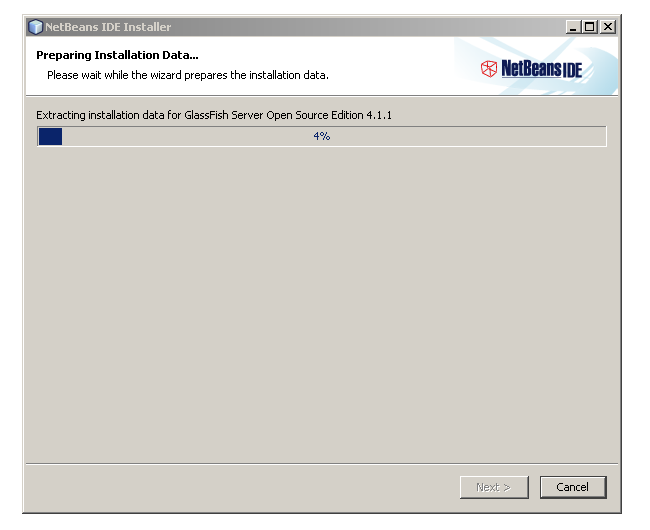
The installation may take some time depending on the speed of your computer.
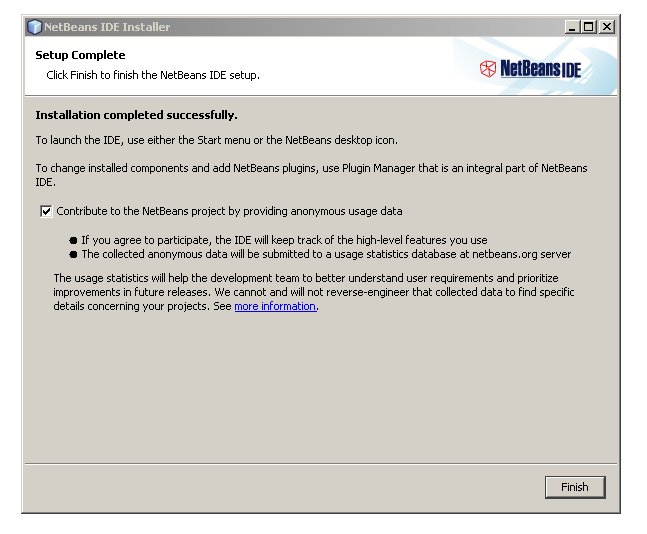
After the installation completes click on Finish to complete the setup process.
Now you have successfully installed NetBeans IDE 8.2 on your computer.