Sometimes you want to terminate a loop in the middle and not let the loop terminate after all iterations have exhausted. The JavaScript break statement will terminate a loop, switch block or any other conditional block with or without label.
Labeled Statement
The labeled statement is an identifier for a statement or a block that can be referred anywhere within the program. For example, the general syntax and example is given below.
//Syntax
label name :
     statements;
//Example
condition_1 :
  if( x > 0){
           x = x+ 10;
}
That label condition_1 identifies the if block and can be used to refer back to the if-block.
How to use break statement
There are two ways to use break statement.
- Without label
- With label
Without Label
If you use break without any label then it will terminate the innermost blocks such as for, while, do-while, switch, if and transfer the control to parent block or to the next statement. Consider the first example where break is used with a single for loop.
Example #1
<!DOCTYPE html>
<html>
<head>
     <title>break Example</title>
</head>
<body>
     <h3> break Statement Example</h2>
     <p id="out"></p>
     <script>
     // Finding a character in a string
     var my_string = "NOTESFORMSC";
     for (let i = 0; i <= my_string.length; i++)
     {
          if (my_string [i] == "M")
          {
               document.getElementById("out").innerHTML = "Item Found At Position" + "=" + i;
               //Break statement to come out of loop
               break;
           }
     }
     </script>
</body>
</html>
As soon as the program finds a matching character it will execute the break statement and terminate the loop. This kind of break is without any label and work on the current loop where it resides.
Output #1
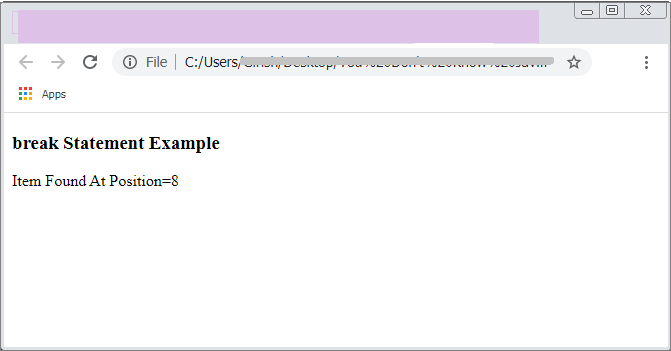
In the next example you will see the break statement in the innermost loop or nested loop. The break statement in such cases will transfer the control back to the parent loop automatically.
Example #2
<!DOCTYPE html>
<html>
<head>
<title>Break Innermost Loop Example</title>
</head>
<body>
     <h3> Break Innermost Loop Example</h2>
     <p id="out"></p>
     <script>
     for(var i = 0; i <= 5 ; i++)
     {
          for( var j = 1; j <= 10;j++)
          {
               if( j == 4)
               {
                    document.getElementById("out").innerHTML +=  j + " " + "Inner Loop" + "<br>";
                    break;
               }
          }
               document.getElementById("out").innerHTML +=  i + " " + "Outer Loop" + "<br>";
      }
</script>
</body>
</html>
Output #2
The above program is very simple and it consists of two loops – an inner loop and an outer loop. The outer parent loop count from 0 to 5 and the inner loop counts from 1 to 10. Each iteration of parent loop we have a condition for the inner loop, that is, the inner loop will break if the count reaches 4. The transfer of control goes back to output loop and the next iteration starts.
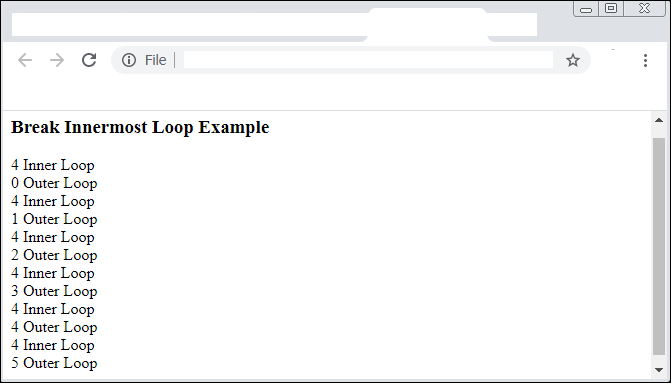
In the figure above, the inner loop cannot print beyond 4 because of the break, but outer loop continues to print new numbers. Also, break statement is executed for each iteration of outer loop.
Break With Label
Break statement can jump to a labeled block and terminate it successfully. This is also a method employed in Java programming. The syntax to use break with label is given below. Now consider our previous example with label.
Example #3
<!DOCTYPE html>
<html>
<head>
     <title>Break Innermost Loop Example</title>
</head>
<body>
     <h3> Break Innermost Loop Example</h2>
     <p id="out"></p>
     <script>
     myloop:
     for (var i = 0; i <= 5 ; i++)
     {
          for ( var j = 1; j <= 10;j++)
          {
               if ( j == 4)
               {
                 document.getElementById("out").innerHTML +=  j + " " + "Inner Loop" + "<br>";
                 break myloop;  // breaks out of both inner loop and first iteration outer loop
               }
           }
           document.getElementById("out").innerHTML +=  i + " " + "Outer Loop" + "<br>";
     }
</script>
</body>
</html>
Output #3
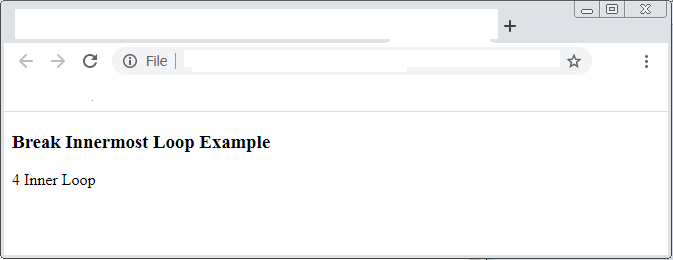
In the example above, the outer loop has a label and the inner uses that label to terminate the loop. The entire loop collapse right in one iteration and only inner loop prints the output.
Switch Statement
The switch-case probably make the best use of break statement. There are one break for every case this block. Consider the following example.
Example #4
<!DOCTYPE html>
<html>
<head>
     <title>Break in Switch-Case Example</title>
</head>
<body>
     <h3> Break in Switch-Case Example</h2>
     <p id="out"></p>
<script>
     var choice = prompt("Enter a choice between 1-- 4 !");
     switch(Number(choice))
     {
          case 1:
             document.getElementById("out").innerHTML = "Choice was Milk";
             break;
          case 2:
             document.getElementById("out").innerHTML = "Choice was Water";
             break;
          case 3:
             document.getElementById("out").innerHTML = "Choice was Juice";
             break;
          case 4:
             document.getElementById("out").innerHTML = "Choice was Icecream";
             break;
          default:
             document.getElementById("out").innerHTML = "Wrong Choice !";
          }
     </script>
</body>
</html>
Output #4
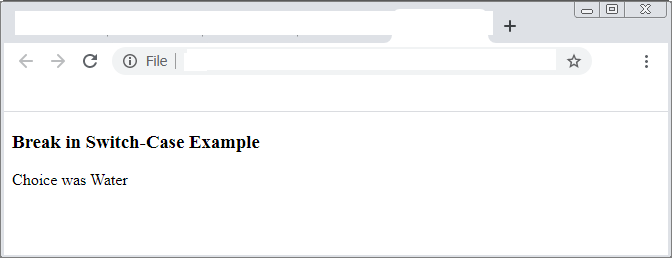
In the program above, the user supply the input through JavaScript prompt and then it converted to number using Number() function. The input number is compared with each case, if the case matches, the output is given. The script will exit the switch block right after the break because we don’t want to match with other cases. Therefore, it is best to break the entire block.
How to use continue statement ?
The continue is like break with a difference that it will skip the current iteration when a condition is met. Consider the following example.
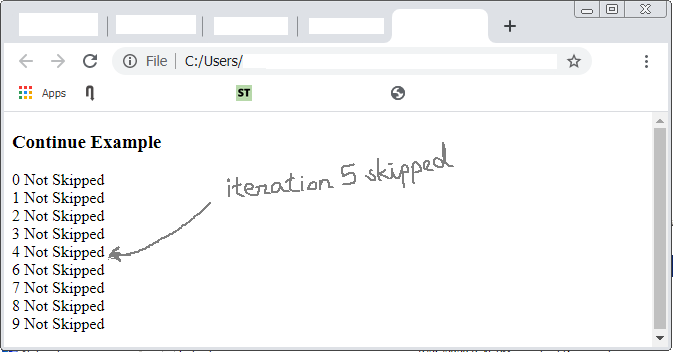
The output above clearly shows that due to continue the iteration 5 is not printed as output text. The loop was not terminated in this case but simply an iteration was skipped.
References
- W3schools.com. 2020. Javascript Break And Continue. [online] Available at: <https://www.w3schools.com/js/js_break.asp> [Accessed 29 August 2020].
- MDN Web Docs. 2020. Break. [online] Available at: <https://developer.mozilla.org/en-US/docs/Web/JavaScript/Reference/Statements/break> [Accessed 29 August 2020].
- POLLOCK, J., 2009. JAVASCRIPT. 3rd ed. McGraw-Hill Education (India) Pvt Limited: INDIA PROFESSIONAL.
- Javascript Bible. (n.d.). (n.p.): Wiley-India.