Table of Contents
GitHub is a community platform where software developer , students, professional programmers and many types of developers collaborate to develop software. Even organization have GitHub accounts and their entire team work and share their works among themselves. Students can learn programming from GitHub tutorials on their static websites.
In this post , we explore how to make a GitHub statics website so that you can showcase you projects to others. Building a software is not enough as you may want to present your work properly to the potential clients or employers.
Tools To Deploy The GitHub Static Site
There are many ways to publish GitHub pages where this article focus on web-based approach which does not involve downloading or installing any software tools. The following are the ways to deploy GitHub pages.
- GitHub Website
- GitHub Desktop Tool
The GitHub deskop tool for Windows and macOS is available for download. Now you will learn to create a repository and publish you first GitHub page in a step-by-step manner. Read each of the step carefully.
Step 1: Create GitHub Account
This step is applicable to only those who do not have a GitHub account. You need to sign up for an account on the GitHub site with an email address. If you have already signed up and have an existing account skip to step 2.
Now sign in to your account and you should see a page given in following figure.

Right now, you don’t have a repository and also note you account name or username. You must create a repository which is nothing but a place to store your project files. In our case, we must store web pages.
Step 2: Creating a repository
You must be extremely cautious while creating the repository because choosing a wrong name for your repository will break the web site. Our account name is Notesformsc; therefore, we are going to create a repository with the same name.
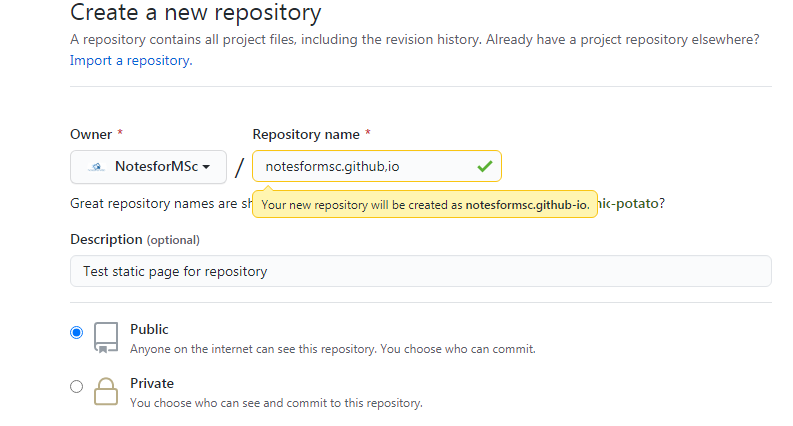
If the account name is “demo”, then the repository name would be “demo.github.io”. Also, select whether you want to make this repository pubic or private which does not affect the web site except that you must be a owner of the repository to visit the pages.
Watch the figure carefully and see how we made a mistake in typing the name. These type of typing mistake should not happen, else the website will not work.
Step 3 : Create files inside repository
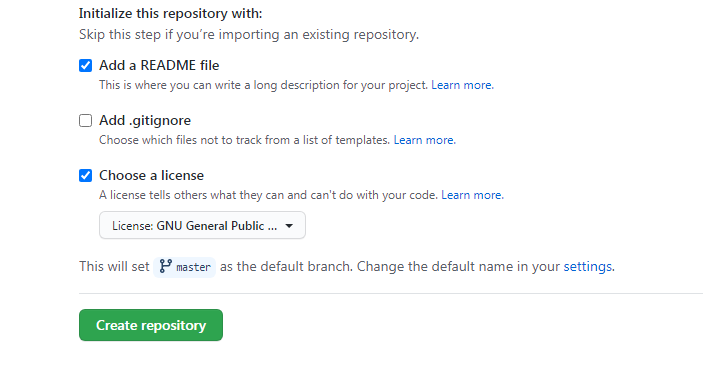
The new repository is empty or it may have two files namely – README and Licence file. We must create new files for our web site. The very first file we need is “index.html”. An index.html file is the main page of any web site.
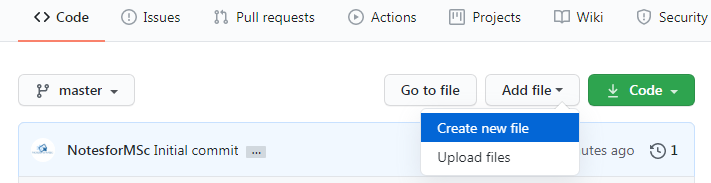
Under the Code section, select Add file drop-down, and select Create new file.
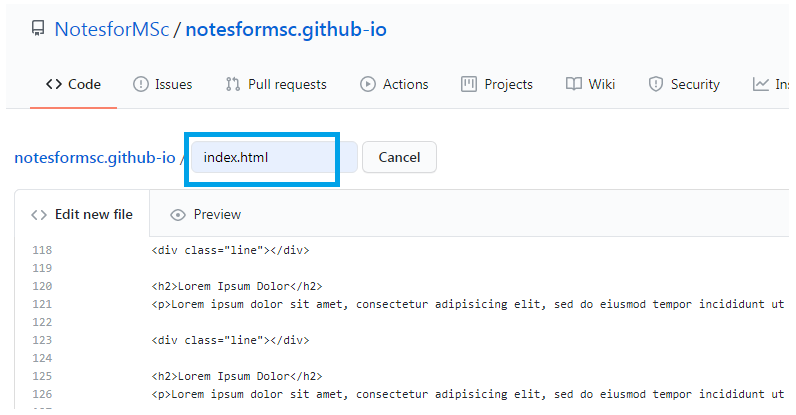
There are number of ways to create files. If the file is ready, then simply upload them from “Upload files “ option under “Add files”. The second way is to create a new file and open the existing index.html file on your computer, copy the content and paste it in the new file you created. Finally, commit your changes.
Suppose you have a folder on your computer called “mywebsite” that contains “index.html”. Open the “index.html” file from the folder to a notepad, then copy all the codes. Go to GitHub , paste your content under “Index.html” as shown in the figure above.
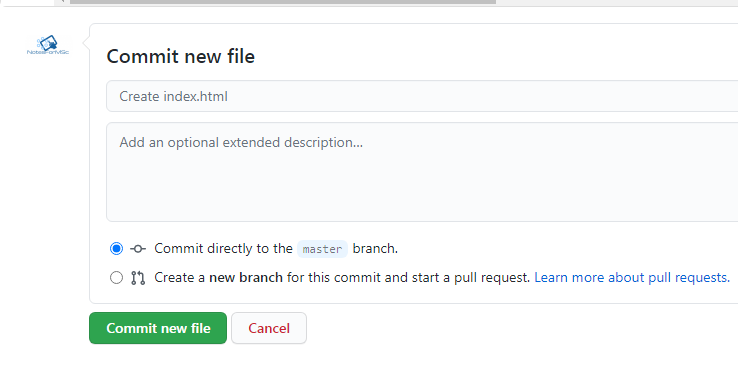
To save your changes, commit the file at the bottom. In the similar manner, you must create style.css . The style document will contain all the style information for index page and other pages if any.
Step 4: Verify and test your static site
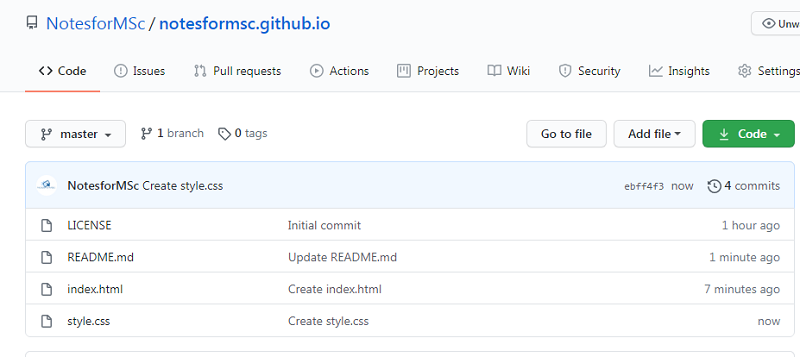
If you have done everything correctly, then look for the active GitHub page in the bottom right corner of the website . You should see your GitHub site active as shown in the following figure.

Now it is time to test your page.Open up the repository url – https://notesformsc.github.io and you should see your page published successfully. See the image below.
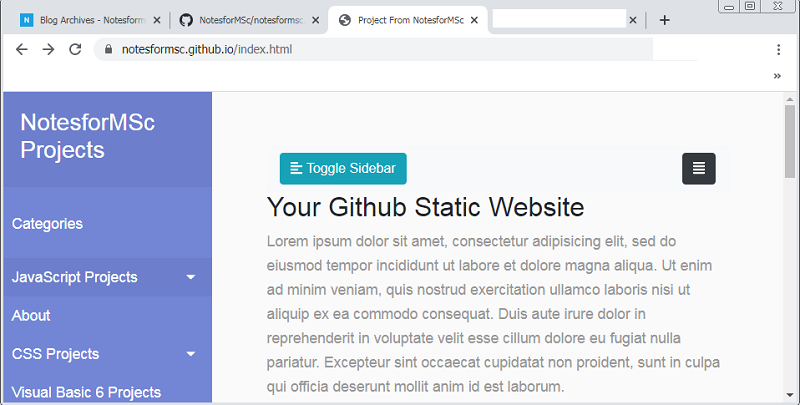
If you do not see the page correctly, the most common problem is your account name and repository name must match. Recheck all the above steps to diagnose the issue.