In the previous lesson, you learned that the primary element of an HTML document is text. But text content does not always the best way to present the information. Images in the form of a logo, heading, charts, and diagrams are used to compliment the textual information.
While using images with HTML, you need to consider following things.
- How to add images to HTML document?
- How to position the image?
- How to specify width and height of an image?
- How to align images in an HTML document?
- How to choose format, size and resolution of an image?
How to add images to HTML document?
It is very simple to add an image to an HTML document. You have to use the <mark style="background-color:rgba(0, 0, 0, 0);color:#d82424" class="has-inline-color"><img></mark> tag. The correct syntax to use the <mark style="background-color:rgba(0, 0, 0, 0);color:#f82424" class="has-inline-color"><img></mark> tag is given below.
<img src=" " alt=" " title =" " caption = " " width=" " height=" "/>
Where,
<mark style="background-color:rgba(0, 0, 0, 0);color:#dd1212" class="has-inline-color">src </mark>= source file, including path to the image file.
<mark style="background-color:rgba(0, 0, 0, 0);color:#db1616" class="has-inline-color">alt </mark>= alternate text for image.
<mark style="background-color:rgba(0, 0, 0, 0);color:#e83a3a" class="has-inline-color">title </mark>= title of the image.
<mark style="background-color:rgba(0, 0, 0, 0);color:#db1212" class="has-inline-color">caption </mark>= a caption for image.
<mark style="background-color:rgba(0, 0, 0, 0);color:#bc1111" class="has-inline-color">width </mark>= width of the image.
<mark style="background-color:rgba(0, 0, 0, 0);color:#e61b1b" class="has-inline-color">height </mark>= height of the image.
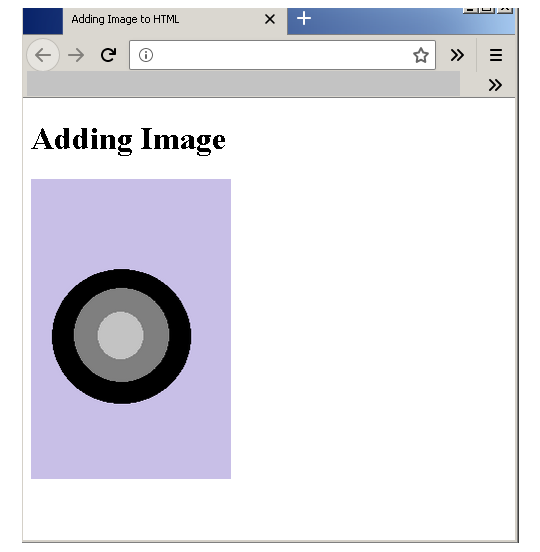
For example, let us add an image to an HTML page.
For this, you have to create an HTML page called example_image.html.
<!DOCTYPE html>
<html>
    <head>
        <title>Adding Image to HTML</title>
    </head>
    <body>
       <h1> Adding Image </h1>
                     <!-- Adding img tag -->
        <img src="circle.png" alt="circle"
        title="Image of a Circle"
        caption= "An Image of a Circle" width="200" height="300" />
    </body>
</html>
Output

How to position the image?
In the previous example, you just added the image to an HTML page, and after than you can add text content. The image is added separately. However, images are inline elements and usually placed inside the paragraph.
- Images are placed at the beginning of the paragraph.
- Sometimes images are placed in the middle of the paragraph.
For example, consider the following HTML code for a page – example_image_position.html.
<!DOCTYPE html>
<html>
    <head>
        <title> Position Images </title>
    </head>
    <body>
        <p>
        <img src="square" alt="square" title="dark red square"
        width="200" height="200" />
        Lorem ipsum dolor sit amet, consectetur adipiscing elit,
        sed do eiusmod tempor incididunt ut labore et dolore magna aliqua.
        Ut enim ad minim veniam, quis nostrud exercitation ullamco
        laboris nisi ut aliquip ex ea commodo consequat.
        Duis aute irure dolor in reprehenderit in voluptate
        velit esse cillum dolore eu fugiat nulla pariatur.
        Excepteur sint occaecat cupidatat non proident,
        sunt in culpa qui officia deserunt mollit anim id est laborum.
        </p>
        <p>
        Lorem ipsum dolor sit amet,
        consectetur adipiscing elit,
        sed do eiusmod tempor incididunt ut labore et dolore
        magna aliqua. Ut enim ad minim veniam, quis
        nostrud exercitation ullamco laboris nisi ut
        aliquip ex ea commodo consequat.
        <img src="blue square" alt="blue square" title="
        dark blue square" width="200" height="200" />
        Duis aute irure dolor in reprehenderit in voluptate velit esse cillum
        dolore eu fugiat nulla pariatur. Excepteur sint occaecat cupidatat
        non proident, sunt in culpa qui officia deserunt mollit
        anim id est laborum.
        </p>
    </body>
</html>
Output
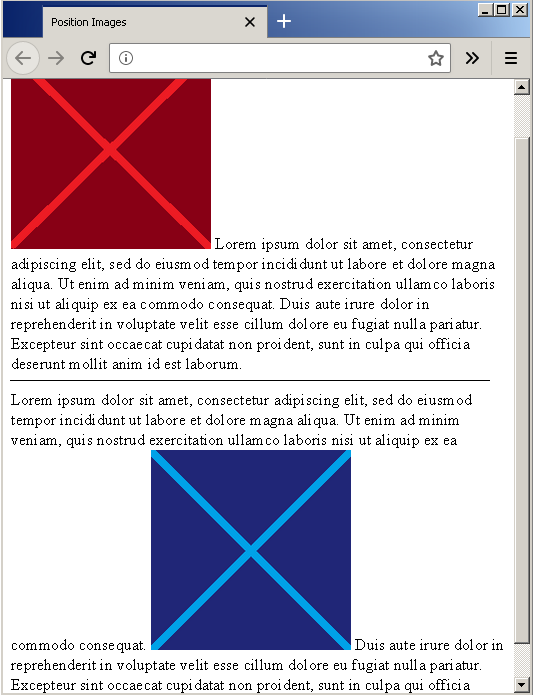
The output shows that the red square is placed at the beginning of the paragraph and the blue square is placed in the middle of a paragraph.

How to specify width and height of an image?
Sometimes the size of an image is not that you want, you can change the original images size while using <mark style="background-color:rgba(0, 0, 0, 0);color:#ee5f5f" class="has-inline-color"><img> </mark>tags. The properties <mark style="background-color:rgba(0, 0, 0, 0);color:#ca2323" class="has-inline-color">width </mark>and <mark style="background-color:rgba(0, 0, 0, 0);color:#ac0707" class="has-inline-color">height </mark>of <mark style="background-color:rgba(0, 0, 0, 0);color:#b20505" class="has-inline-color"><img></mark> tag can do that for you. It will render a different width and height than the original images size.
If the image is larger, display the image with smaller width and height, not the other way around. The width and the height are calculated in pixels.
For example, consider the following HTML – example-width-height.html, which add an image whose original size is <mark style="background-color:rgba(0, 0, 0, 0);color:#b50a0a" class="has-inline-color">400px X 500 px</mark>. But the width is set to <mark style="background-color:rgba(0, 0, 0, 0);color:#a90c0c" class="has-inline-color">200px</mark>, and the height is set to <mark style="background-color:rgba(0, 0, 0, 0);color:#a90303" class="has-inline-color">300px</mark>, different from original size.
<!DOCTYPE html>
<html>
    <head>
        <title>Image Width and Height</title>
    </head>
    <body>
        <img src="triangle.png" alt="triangle"
        title="black triangle"
        caption="Image of a Black triangle"
        width="200" height="300" />
    </body>
</html>
Output
The size of the image displayed is <mark style="background-color:rgba(0, 0, 0, 0);color:#b80f0f" class="has-inline-color">200px X 300px</mark> which is smaller than the original image size.
